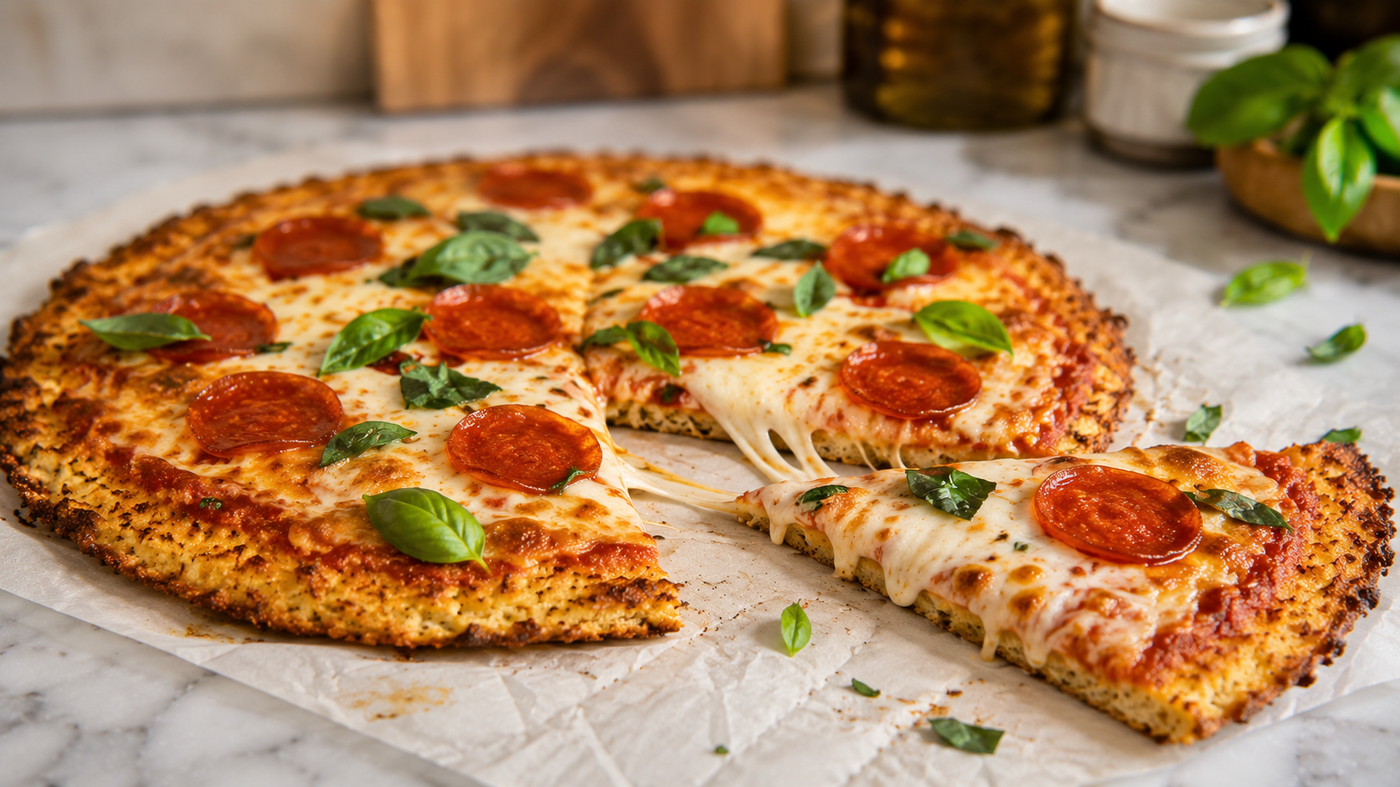
Cauliflower Pizza Crust — Crispy Edges, Holds Its Toppings, and My “Real Pizza Only” Husband Asked for Seconds
Naturally gluten-free, low carb, and actually crispy — not soggy, not floppy. The secret is squeezing out every drop of moisture. Easier than it looks and totally worth making on a weeknight.

Okay, so I’ll be honest — I was skeptical the first time someone told me cauliflower could replace pizza dough. Like… really? But one Friday night when I was trying to keep things a little lighter, I gave it a shot. And I’m so glad I did.
This cauliflower pizza crust recipe has become a real staple in our house. It’s crispy on the edges, holds up under toppings, and honestly? It satisfies that pizza craving without the heavy feeling after. My husband — who is very much a “real pizza only” kind of guy — asked for seconds. That tells you everything.
Whether you’re eating keto, gluten-free, or just trying to sneak more veggies into your week, this one is worth making. It’s easier than it looks, I promise.
Why You’ll Love This Recipe
- Crispy edges — not soggy, not floppy. Actually holds together.
- Naturally gluten-free and grain-free — no specialty flours needed
- Low carb and keto-friendly — a great fit for clean eating days
- Takes about 40 minutes total — totally doable on a weeknight
- Kid-approved — they don’t even notice the cauliflower
- Customizable — use any toppings you love
Step-by-Step Instructions
-
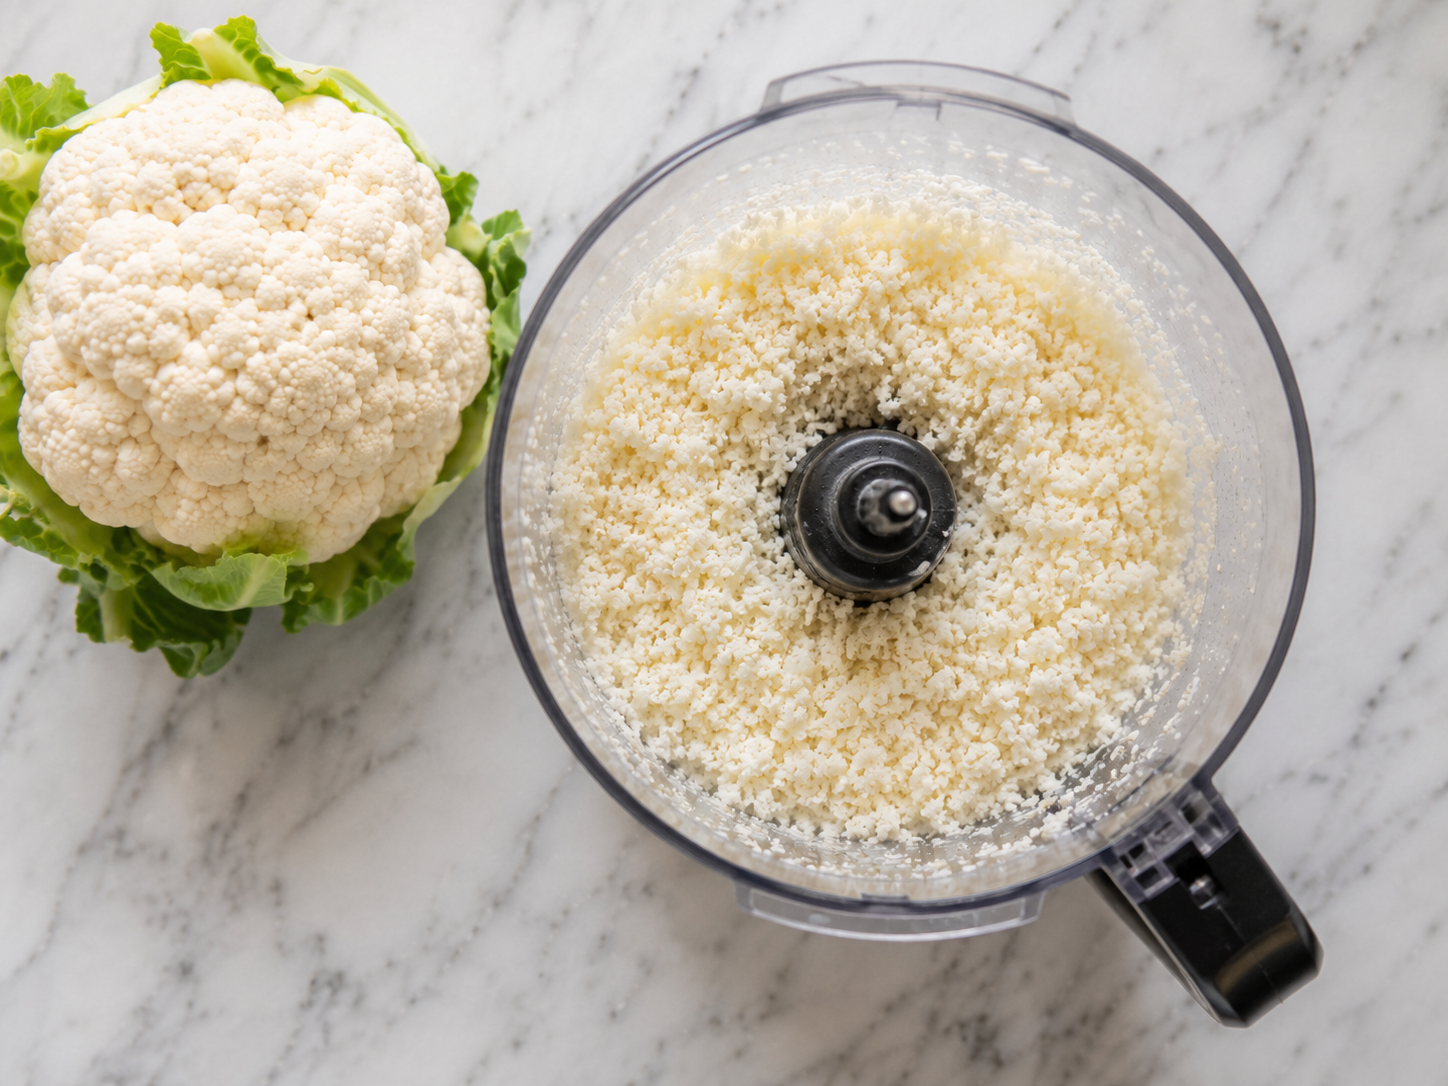
1Prep your cauliflower. Cut the cauliflower into florets and pulse in a food processor until it looks like fine rice. You can also use a box grater. You’ll need about 4 cups of riced cauliflower.
-
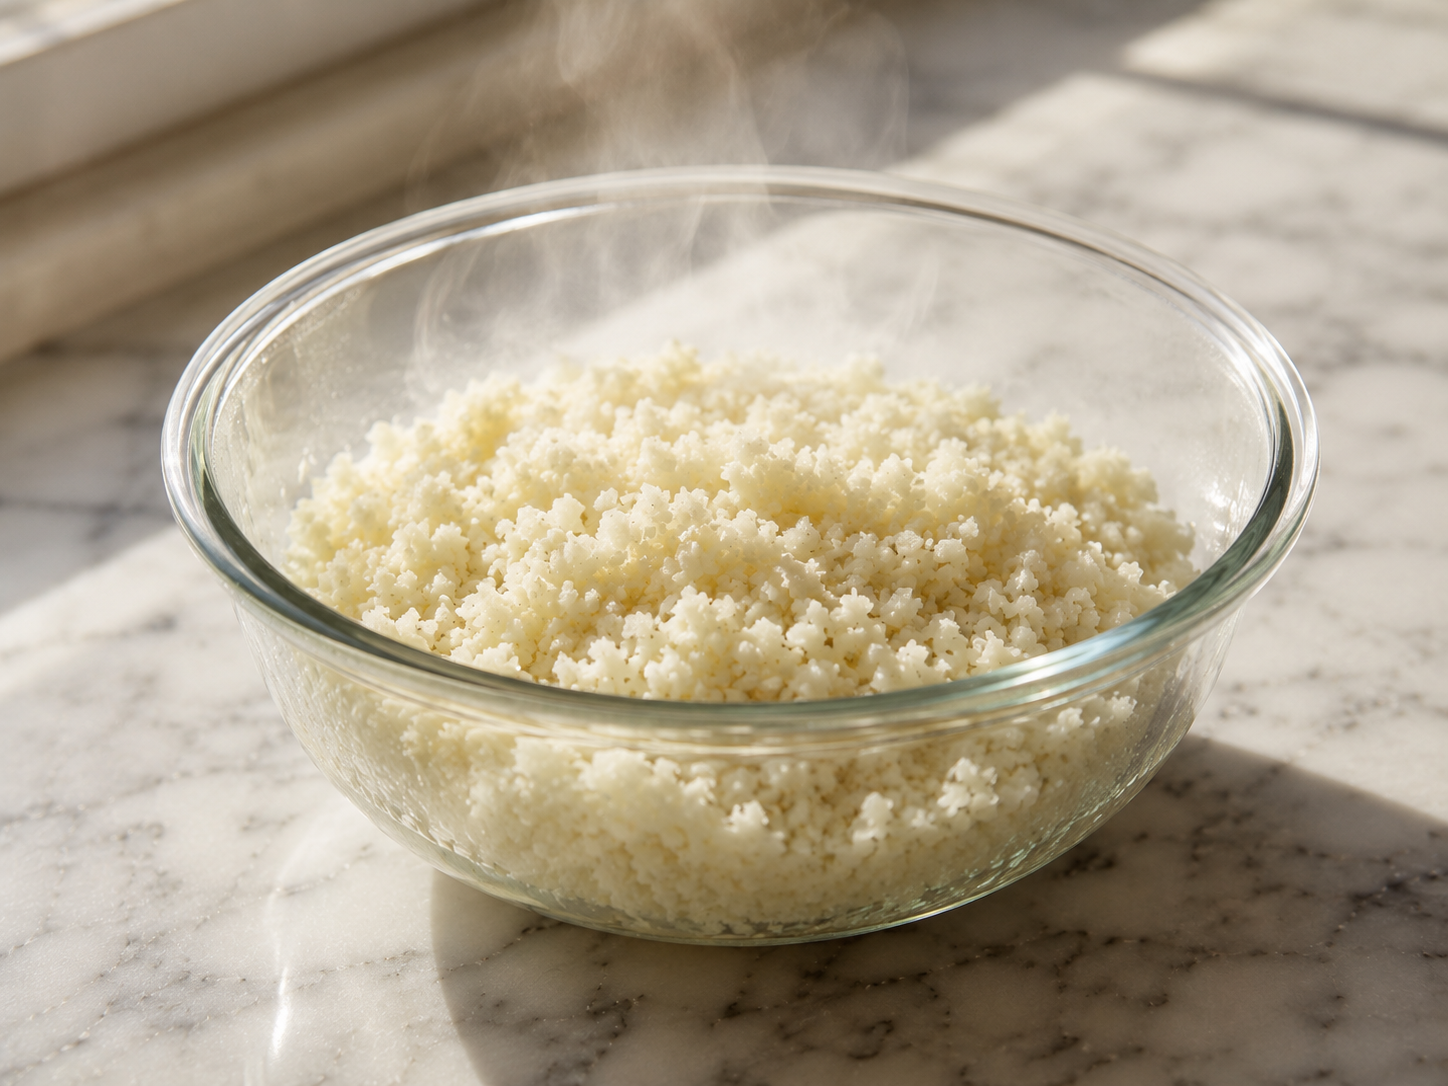
2Cook the cauliflower rice. Microwave the riced cauliflower in a microwave-safe bowl for 4–5 minutes until soft. Let it cool for 10 minutes — this step matters.
-
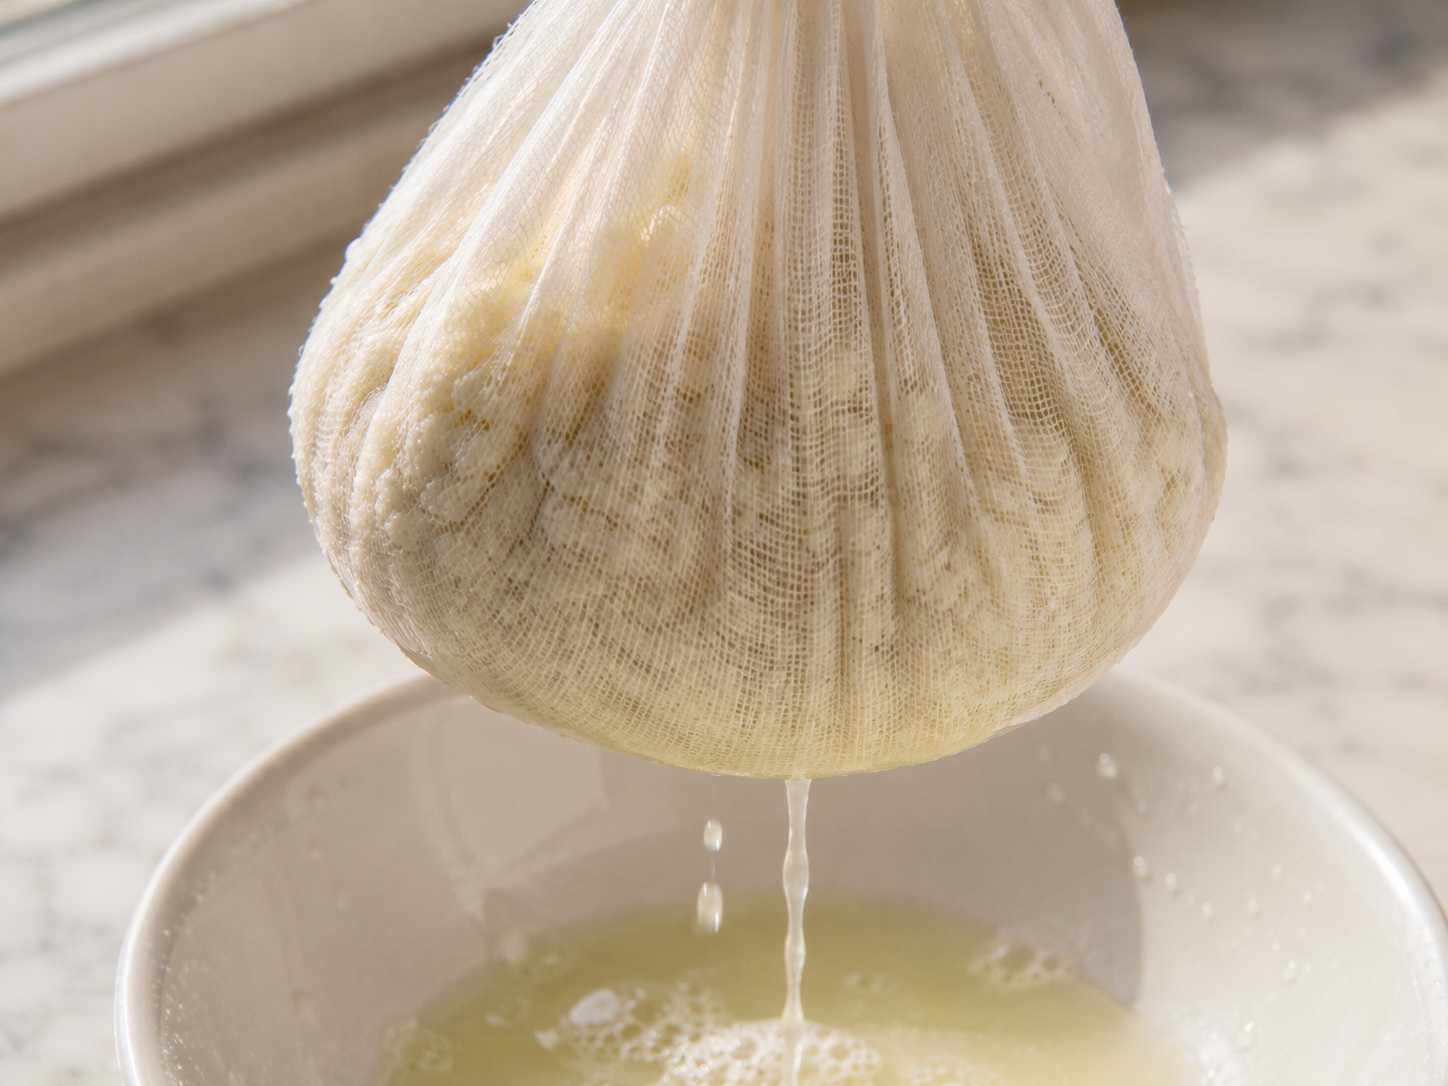
3Squeeze out ALL the moisture. Dump the cooked cauliflower into a clean kitchen towel or cheesecloth and squeeze hard. Like, really hard. Get out as much water as you possibly can. This is the #1 secret to a crispy crust.⚠️ Squeeze more than you think you need to. Extra moisture = soggy crust. The towel method is the best and this step makes all the difference.
-
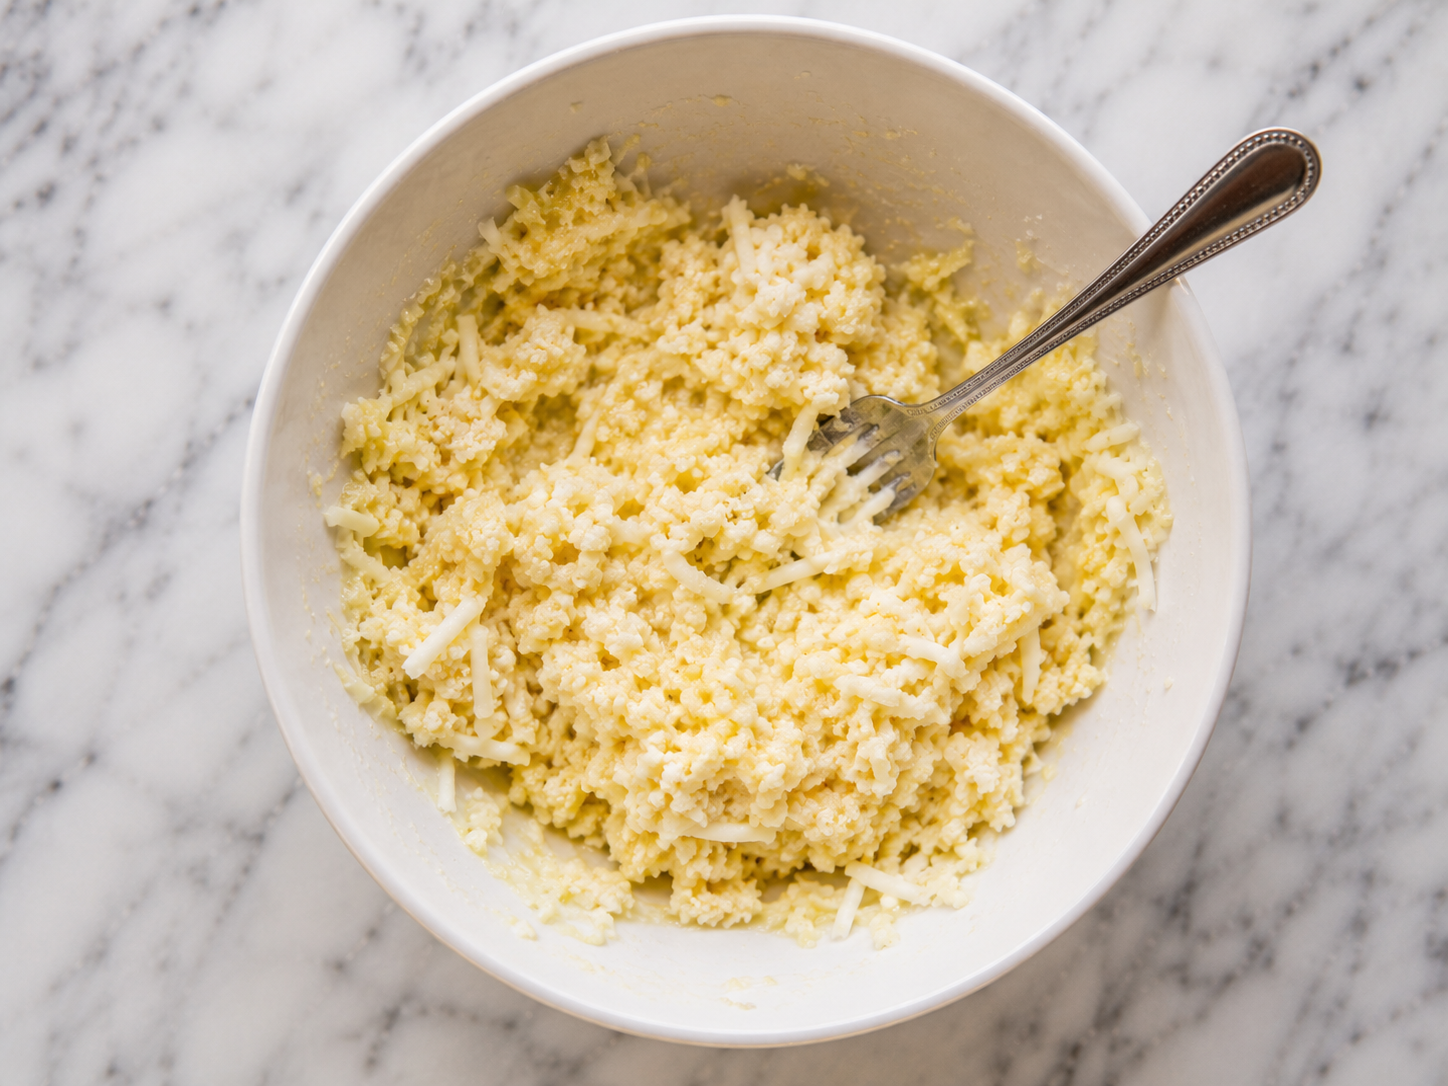
4Mix the dough. In a bowl, combine the squeezed cauliflower, egg, mozzarella, parmesan, garlic powder, Italian seasoning, salt, and pepper. Mix until it comes together like a soft dough.
-
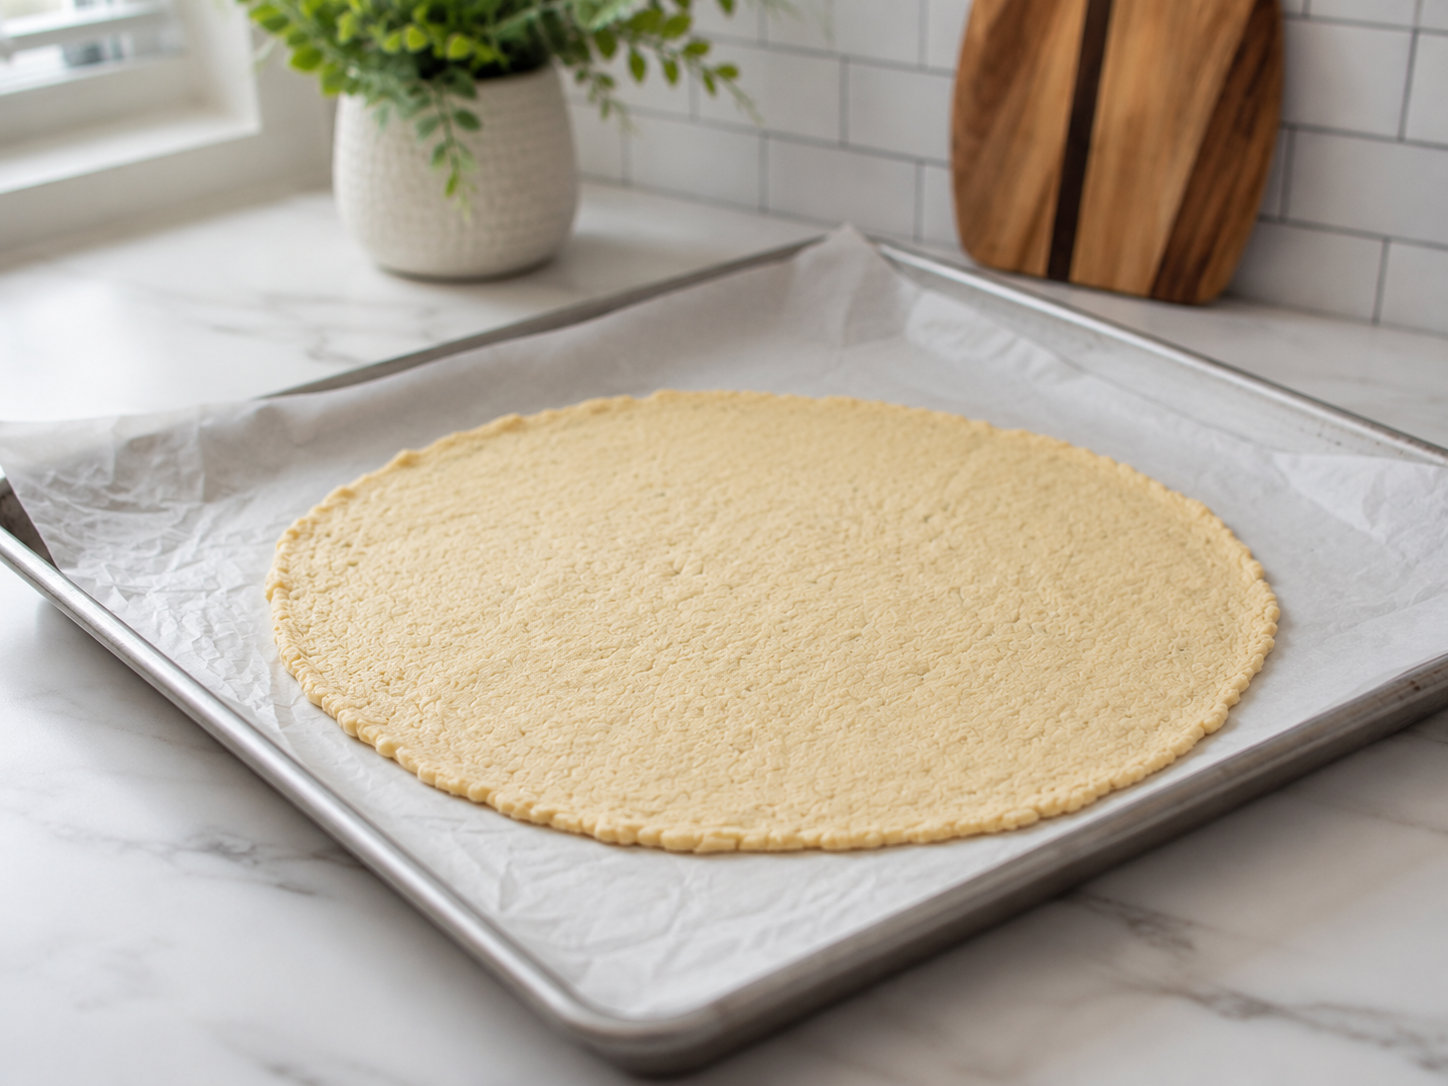
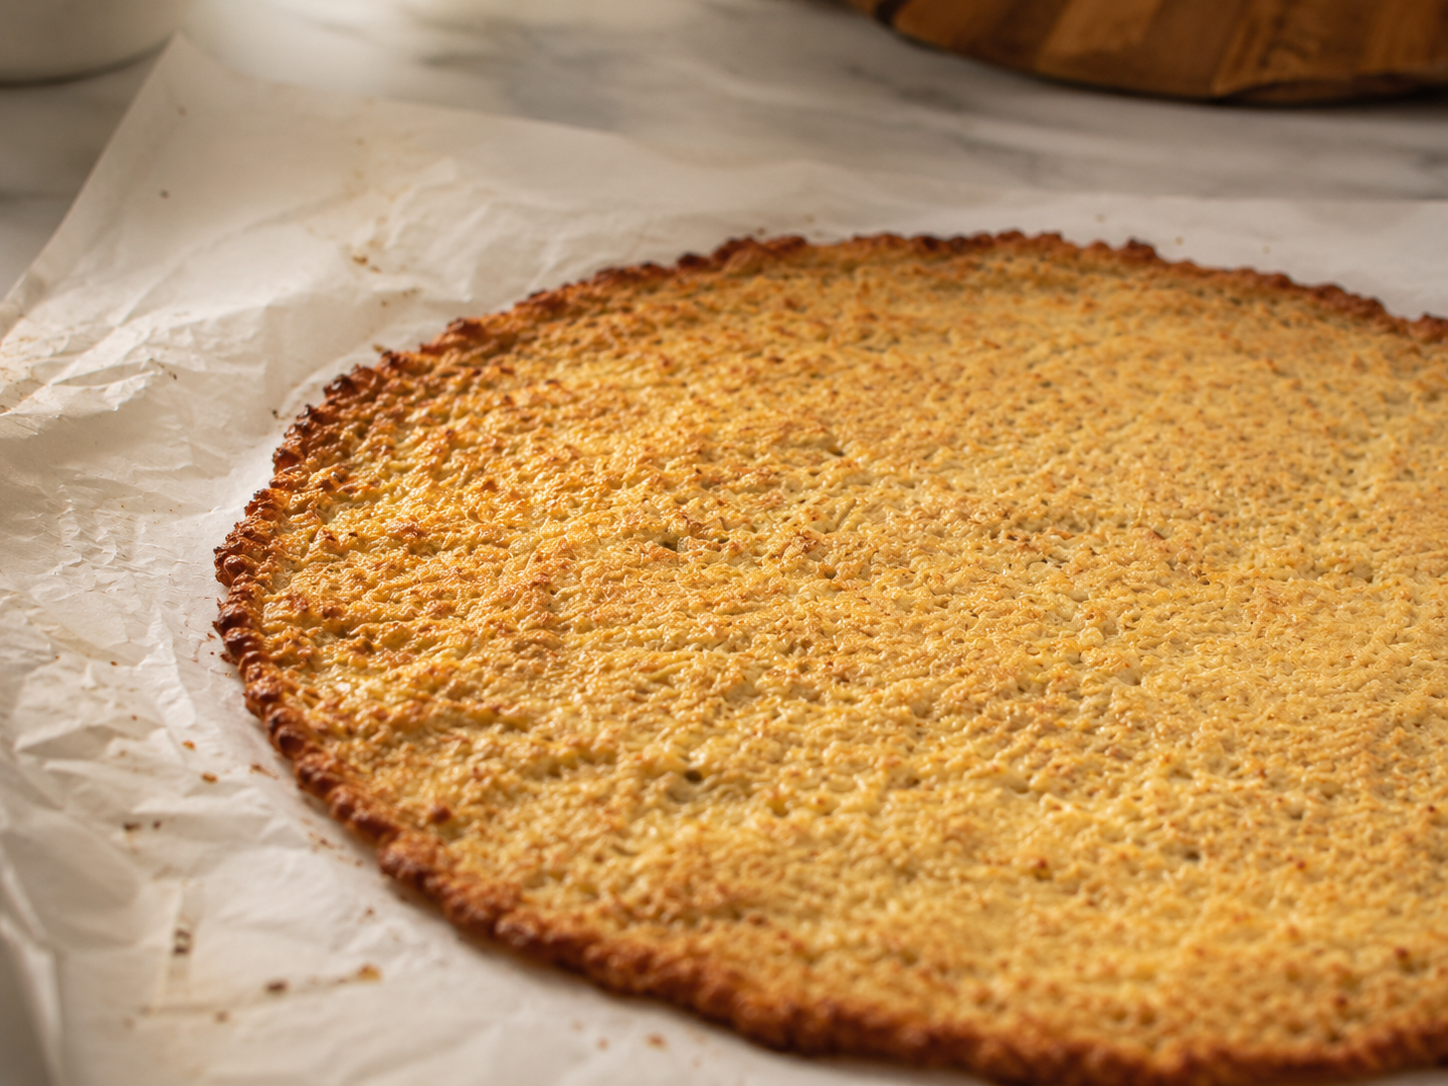
5Shape and pre-bake. Preheat your oven to 425°F (220°C). Line a baking sheet with parchment paper. Press the dough into a round or rectangle shape, about ¼ inch thick. Bake for 18–22 minutes until the edges are golden and the center is set.💡 Use parchment paper — not foil, not a greased pan. Parchment makes a real difference in crispiness. Don’t skip the pre-bake either — that first bake is what gives the crust its structure before toppings go on.
-
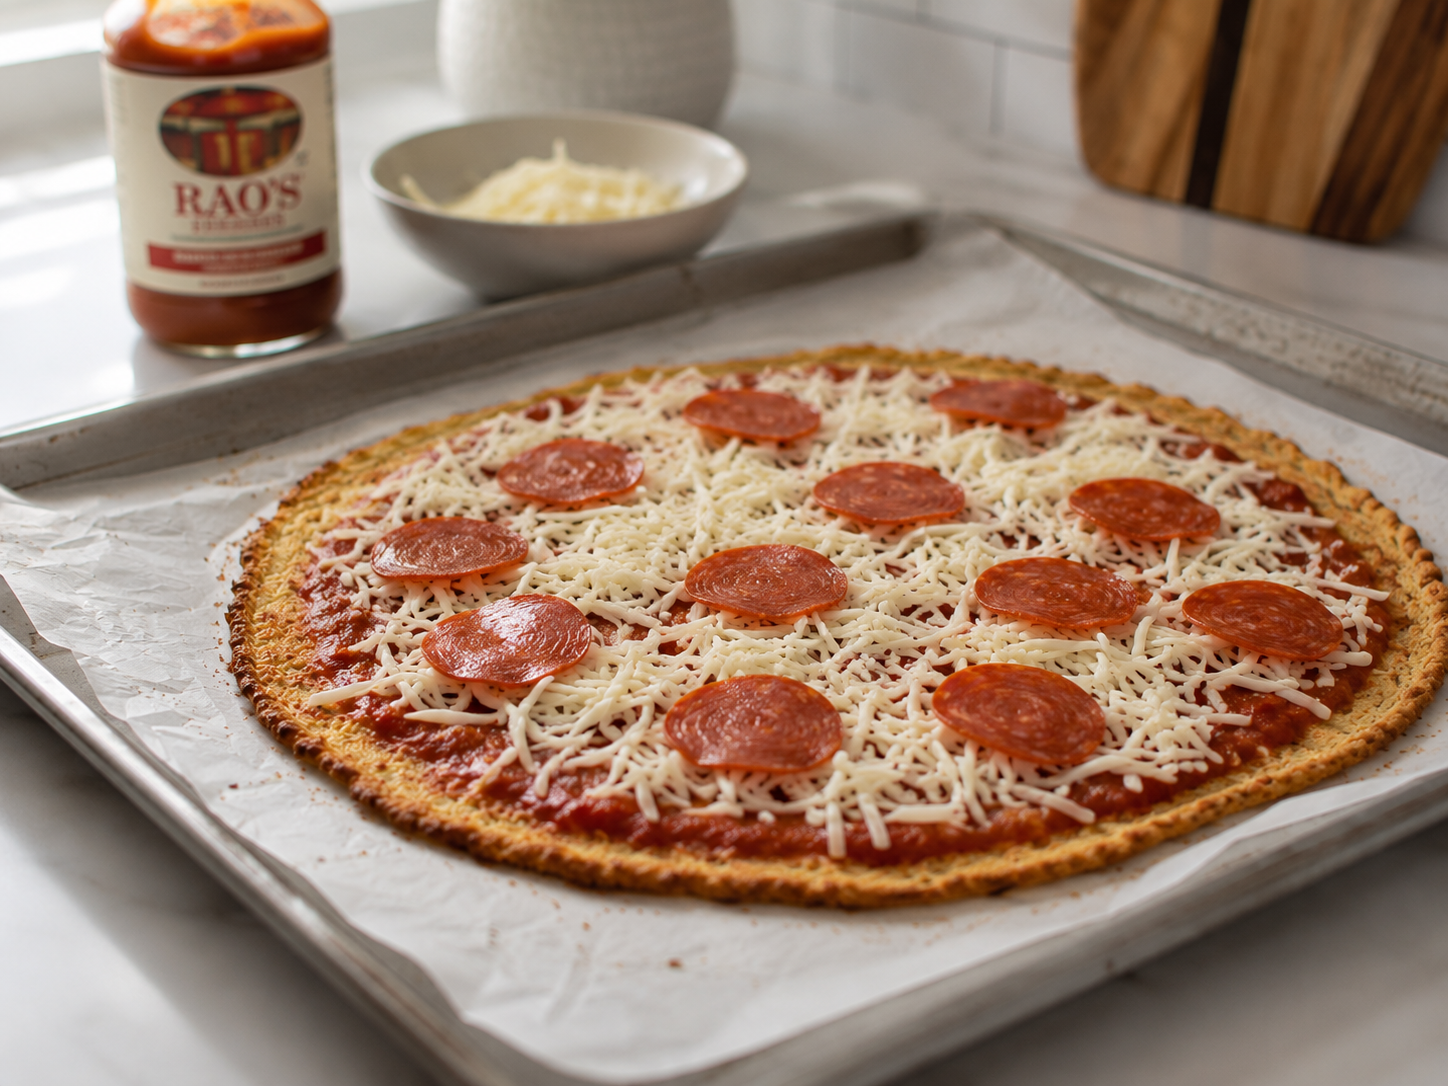
6Add toppings and bake again. Pull it out, add your sauce and toppings, and bake for another 8–10 minutes until the cheese is melted and bubbly.💡 Want it crispier? Broil for the last 2 minutes of this second bake.
-
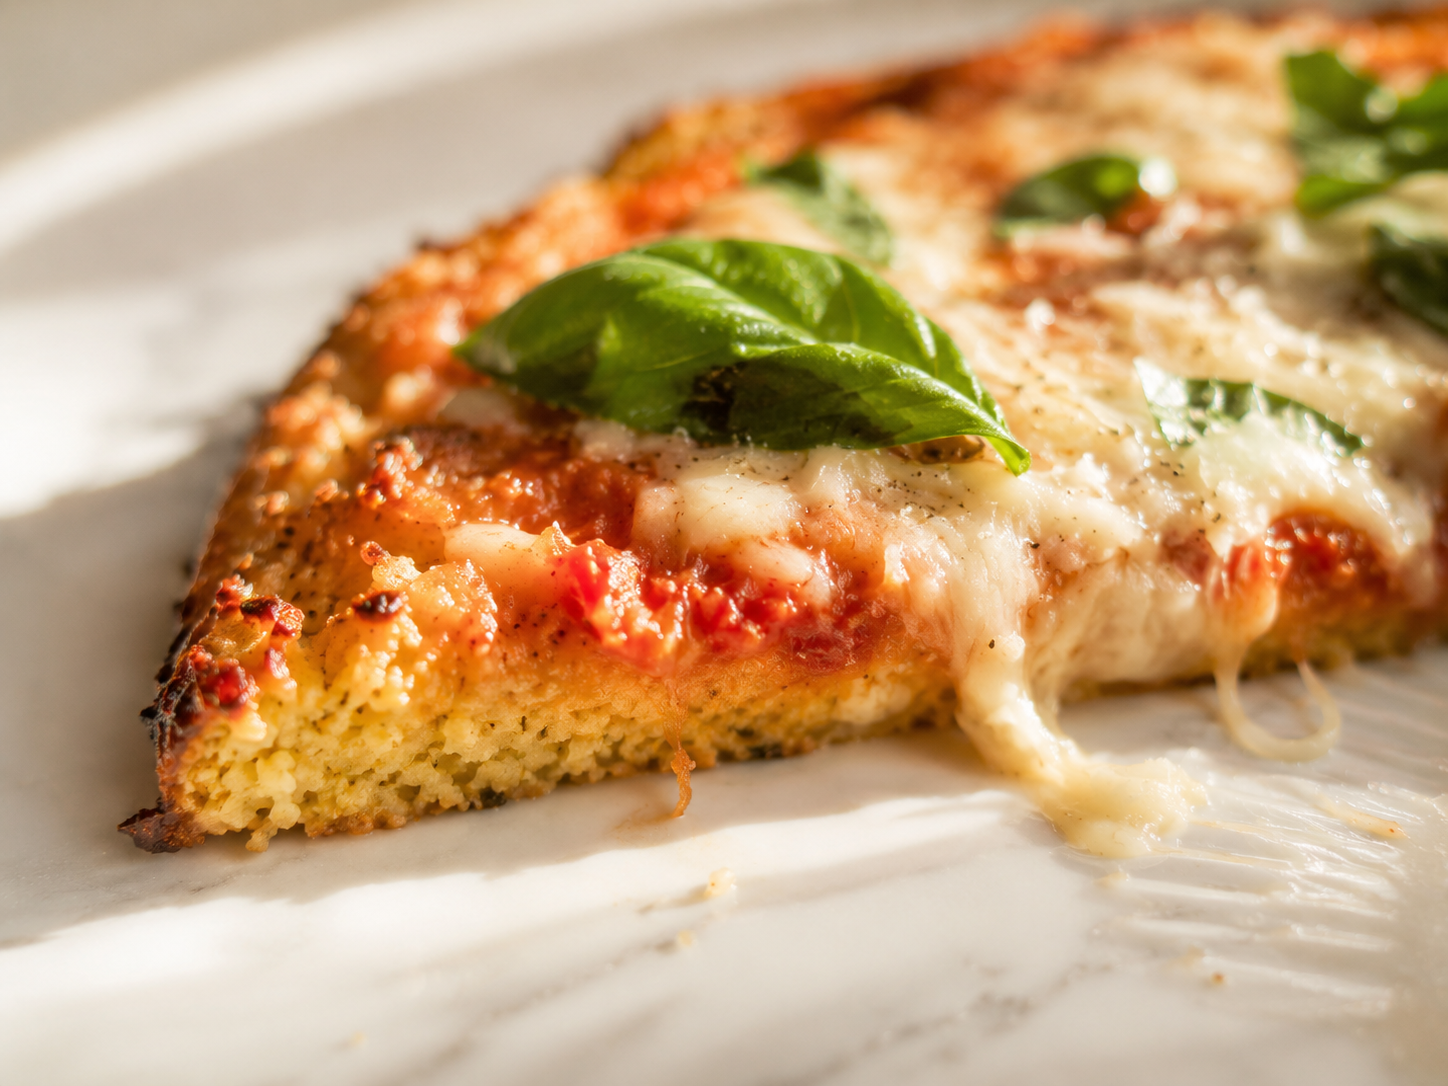
7Slice and serve. Let it rest for 2–3 minutes before slicing. This helps everything hold together.⚠️ Don’t skip the 2–3 minute rest — slice it too soon and it falls apart. A little patience here goes a long way.
Private: The Best Cauliflower Pizza Crust Recipe (Crispy, Low Carb & Actually Delicious)
🧄 Ingredients
- 1 ¾ cauliflower head, cut into florets
- 1 ¾ large egg
- 0.5 cup shredded mozzarella cheese
- 0.25 cup grated parmesan cheese
- 1 ¾ tsp garlic powder
- 1 ¾ tsp Italian seasoning
- 0.25 tsp salt
- 1 ¾ pinch black pepper
- 0.5 cup pizza or marinara sauce
- 1 ¾ cup shredded mozzarella cheese
📋 Instructions
-
1
Cut cauliflower into florets and pulse in a food processor until it resembles fine rice. You should have about 4 cups of riced cauliflower.
💡 A box grater works if you don\'t have a food processor. -
2
Place the riced cauliflower in a microwave-safe bowl and microwave for 4–5 minutes until soft. Let it cool for 10 minutes before handling.
💡 Don\'t skip the cooling — it makes the squeezing step much easier and safer. -
3
Transfer the cooked cauliflower to a clean kitchen towel or cheesecloth. Squeeze out as much water as possible — this is the most important step for a crispy crust.
💡 Squeeze in multiple batches and press firmly. The more moisture you remove, the crispier the crust. -
4
In a large bowl, combine the squeezed cauliflower, egg, mozzarella, parmesan, garlic powder, Italian seasoning, salt, and pepper. Mix until a soft dough forms.
💡 The mixture should hold together when pressed. If it feels too wet, squeeze the cauliflower again. -
5
Preheat your oven to 425°F (220°C). Line a baking sheet with parchment paper. Press the dough into a round or rectangular shape, about ¼ inch thick.
💡 Use parchment paper — not foil — for the best crispy bottom. -
6
Bake the crust for 18–22 minutes until the edges are golden and the center feels firm and set.
💡 Don\'t rush this step. A fully pre-baked crust is what keeps it from getting soggy once toppings are added. -
7
Remove from the oven and add your pizza sauce and toppings. Return to the oven and bake for another 8–10 minutes until the cheese is melted and bubbly.
💡 For extra crispiness, broil for the last 2 minutes of this bake. -
8
Let the pizza rest for 2–3 minutes before slicing and serving.
💡 Resting helps the crust firm up so your slices hold together nicely.
Nutrition Per Serving
💡 Pro Tips
- Squeeze more than you think you need to. Seriously. Extra moisture = soggy crust. The towel method is the best.
- Don’t skip the pre-bake. That first bake is what gives you structure before the toppings go on.
- Use parchment paper. Not foil, not a greased pan — parchment. It makes a real difference in crispiness.
- Let it cool slightly before slicing. Give it 2–3 minutes or it’ll fall apart.
- Frozen riced cauliflower works too — just thaw completely and squeeze very well.
- Want it crispier? Broil for the last 2 minutes of the second bake.
Variations to Try
Add ½ tsp red pepper flakes and a pinch of cayenne to the crust mixture. Top with spicy marinara and sliced jalapeños.
Skip the cheese in the crust and use 2 eggs instead for binding. Top with hummus, roasted veggies, and a drizzle of olive oil.
Use a bag of frozen cauliflower rice — no need to chop or process. Just thaw, squeeze, and mix. Saves about 10 minutes of prep.
Add ¼ cup cream cheese into the crust mixture for a richer, slightly softer base. Great if you want a thicker, more indulgent crust.
Serving Ideas
- Classic pizza night — sauce, mozzarella, pepperoni, fresh basil
- Veggie-loaded — roasted zucchini, cherry tomatoes, arugula added after baking
- Breakfast pizza — scrambled eggs, bacon bits, light cheddar
- Cut into strips and serve with marinara or garlic dipping sauce
- Pairs beautifully with a simple green salad or a bowl of tomato soup on a cozy night
Storage & Reheating
| Where | How long | Notes |
|---|---|---|
| ❄️ Fridge | Up to 3 days | Airtight container — reheat in oven or air fryer, not microwave |
| 🧊 Freezer (plain crust) | Up to 1 month | Pre-bake the plain crust, wrap in parchment, freeze in a bag — thaw overnight in fridge before topping and baking |
| 🔥 Reheating | 5–7 min | 375°F oven or air fryer restores crispiness — avoid the microwave, it makes it soft and soggy |
Frequently Asked Questions
If you’ve been putting off trying this because you’re not sure it’ll actually taste like pizza — I get it. I had the same doubt. But trust me on this one. It’s not pretending to be a thick, doughy slice. It’s its own thing, and it’s genuinely good.
Make it on a weeknight when you want something warm and satisfying but don’t want to feel heavy after. Add your favorite toppings, put on something cozy to watch, and enjoy it. I think you’ll be really happy you tried it. Leave a comment below — and tag me if you share it! 🍕

Get new recipes in your inbox 🍋
No spam — just the good stuff, straight to you.
thank you it\'s awnderfull recipe, i just tried this pizza today !!