Classic Rustic Cherry Galette — The Easy Cherry Galette Recipe With a Flaky Butter Crust
No pie pan, no fuss — just fresh cherries, a buttery homemade crust, and a fold-as-you-go rustic shape that forgives every wobble. This is the cherry galette recipe I make on repeat all summer.
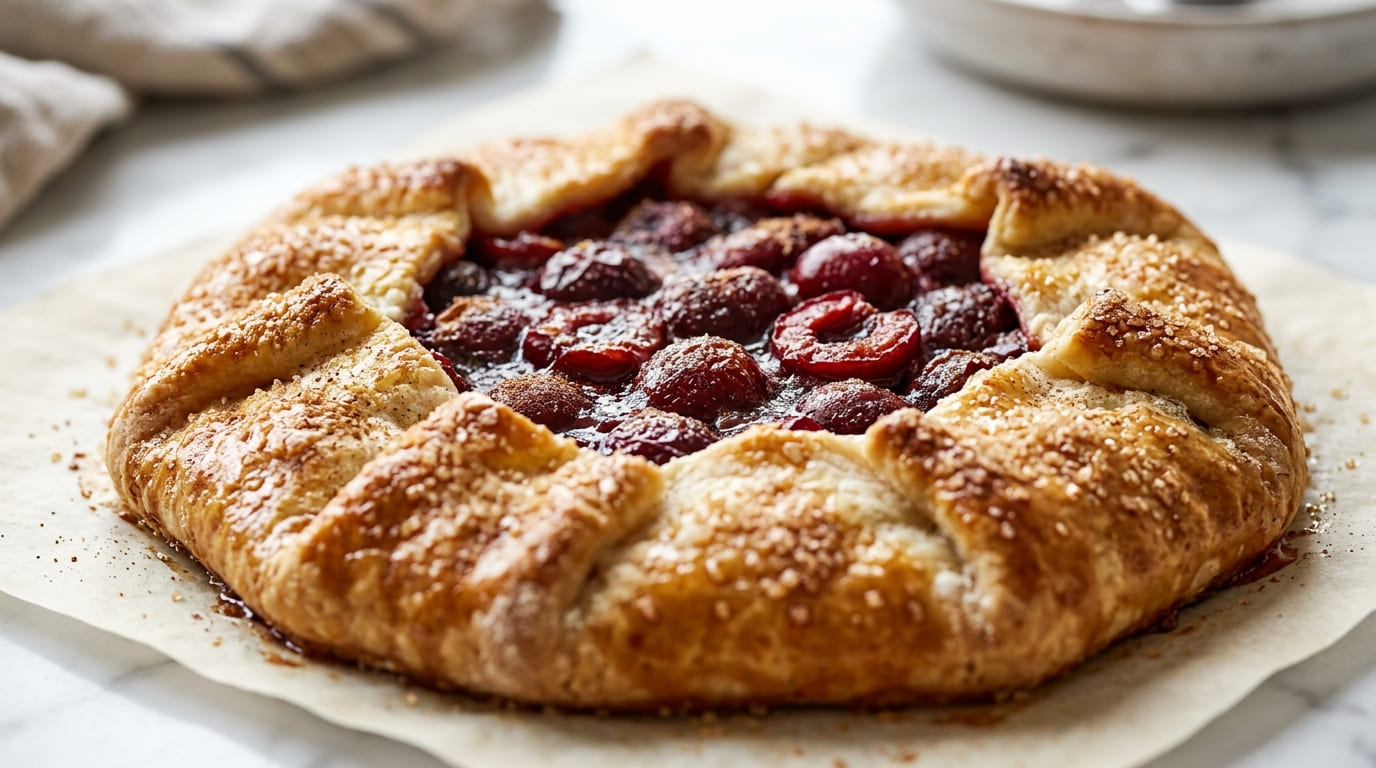
I’ll be honest — for years I avoided making a cherry pie because the lattice top always stressed me out. Then a friend showed me how to make a rustic cherry galette instead, and my whole summer baking routine changed.
A galette is basically the pie’s relaxed cousin. You roll the dough into one rough circle, pile fresh cherries in the middle, and fold the edges up and over. No crimping, no top crust, no pressure. If it looks a little uneven, that’s the whole point — it’s supposed to look homemade.
What you get out of the oven is a golden, flaky butter crust wrapped around a pool of juicy, sweet-tart cherries that’s part jam, part fruit filling. It smells like a French bakery and takes a fraction of the effort of a traditional pie.
This homemade cherry galette has become one of those recipes I make the second cherries show up at the market — and it’s the one my neighbors ask for the recipe every single time.
Why You’ll Love This Recipe
- No pie pan or fancy skills needed — it’s folded by hand right on the baking sheet
- Sweet-tart cherry flavor — fresh cherries baked down into a jammy, juicy filling
- That flaky butter crust — cold butter is the whole secret, and it’s easier than it sounds
- Budget-friendly — one batch of cherries and a simple pantry crust go a long way
- Crowd-pleaser — it looks like it came from a French bakery, but it’s genuinely beginner-friendly
- Make-ahead friendly — the dough can be made a day or two in advance
Step-by-Step Instructions
-
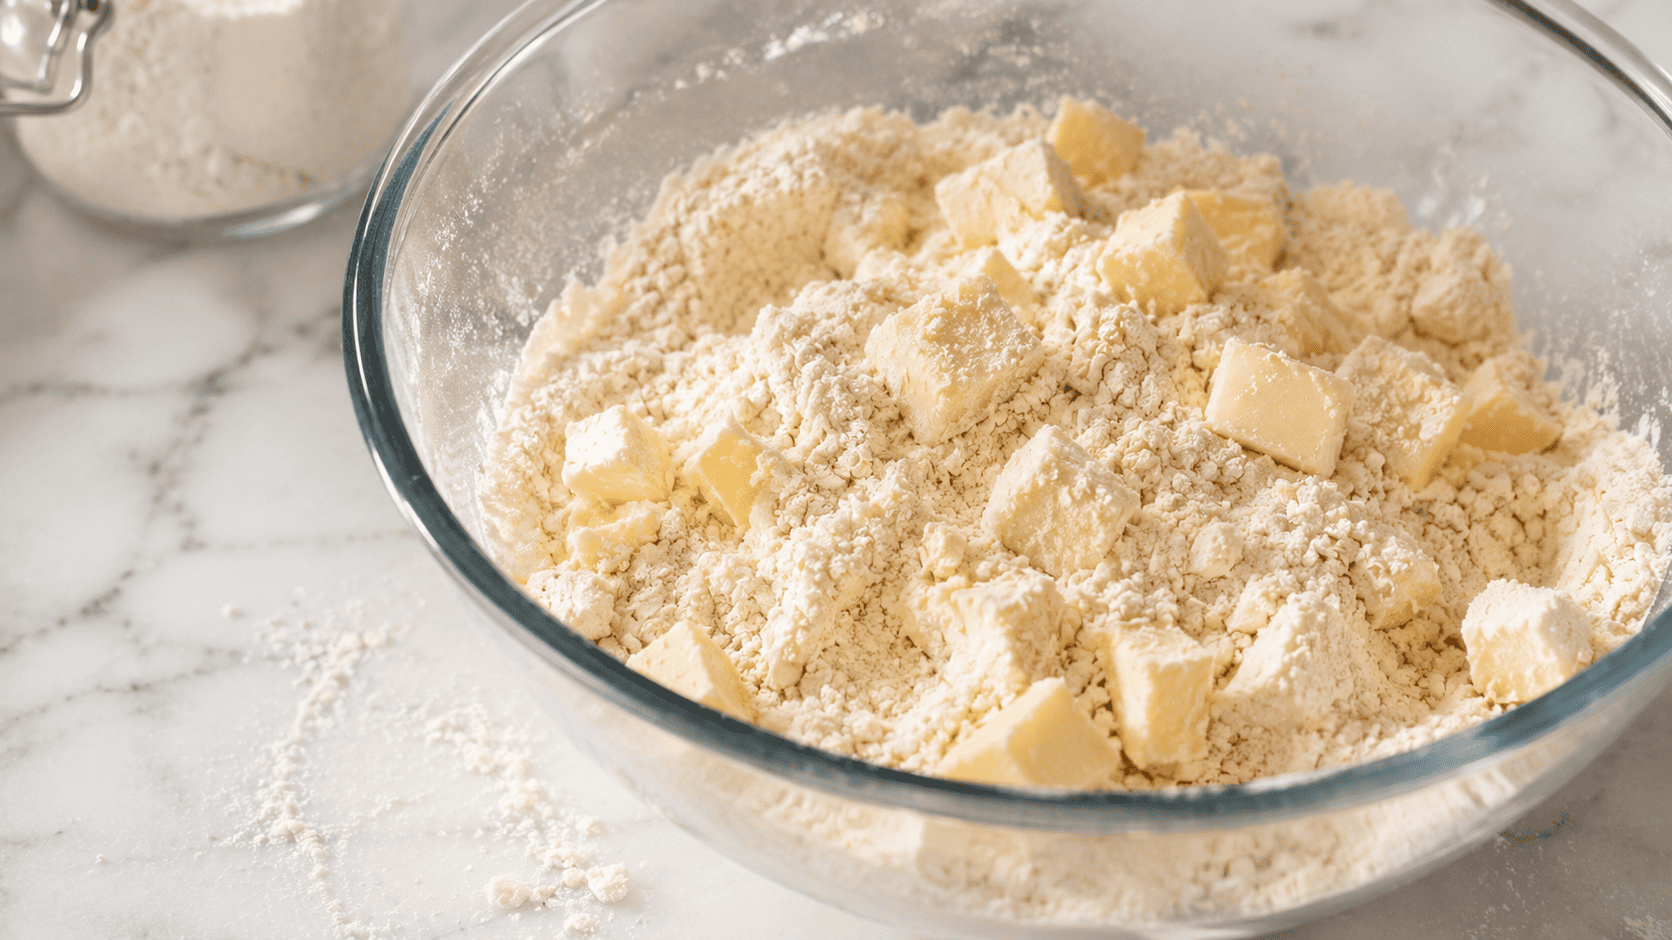
1Make the dough. Whisk the flour, sugar, and salt together in a large bowl. Add the cold cubed butter and use your fingers or a pastry cutter to work it in until you have pea-sized chunks of butter — don’t overmix. Stir the vinegar into the ice water, then drizzle it in a tablespoon at a time, mixing just until the dough comes together.
-
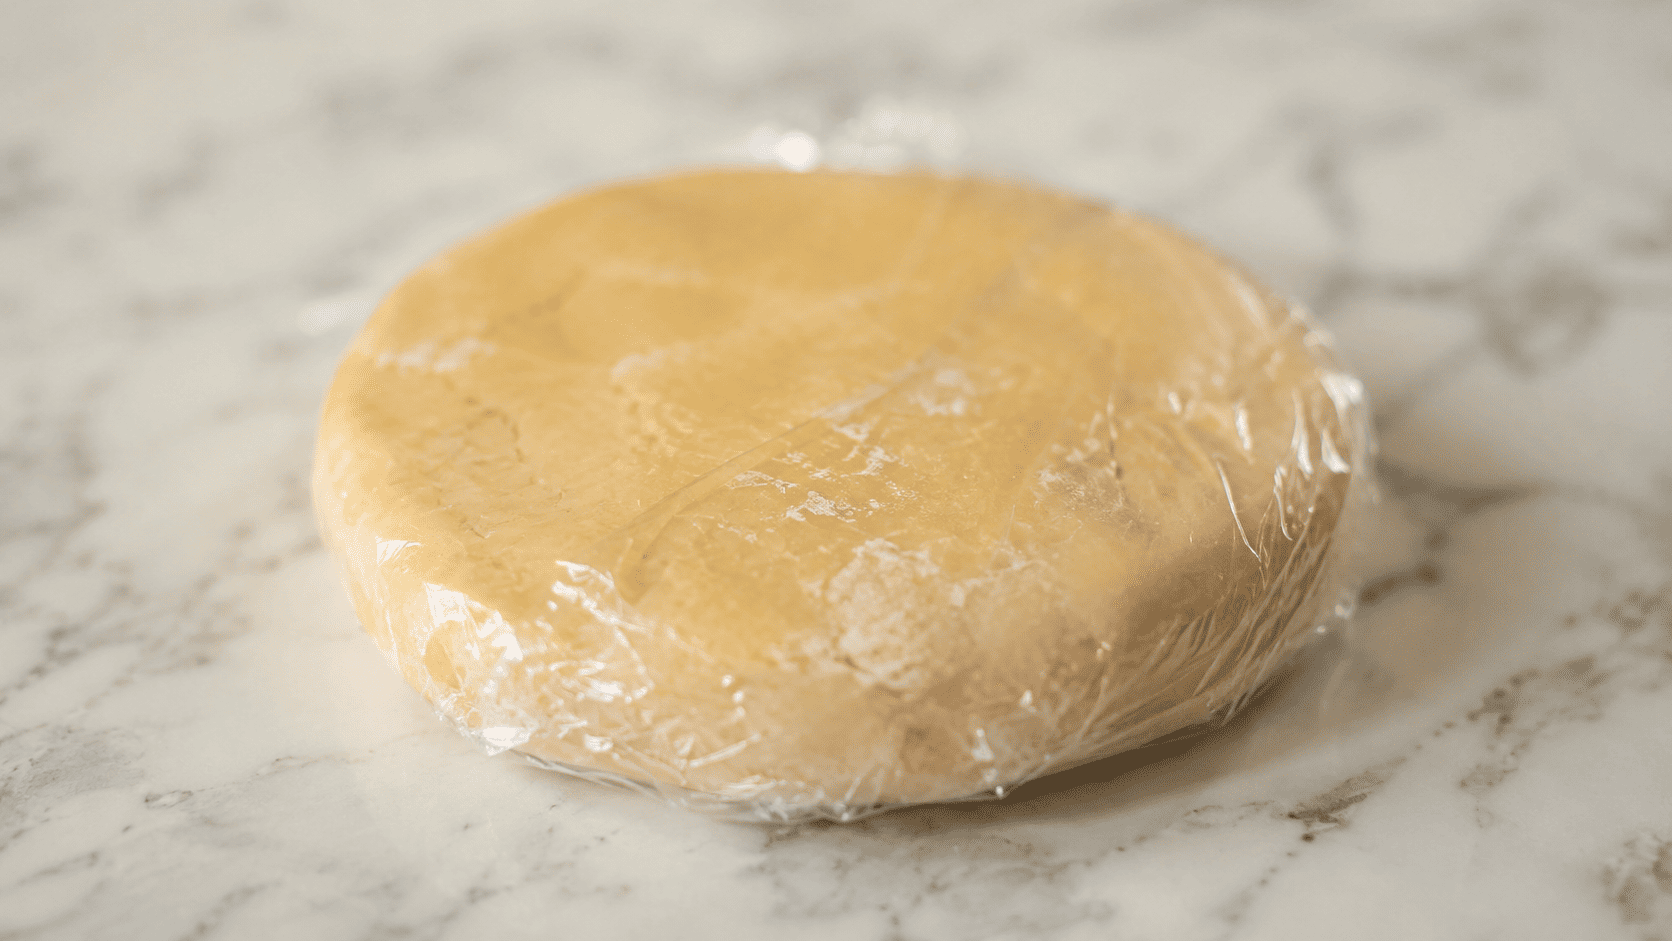
2Chill the dough. Shape the dough into a disc, wrap it in plastic, and refrigerate for at least 1 hour (up to 2 days). Cold dough is what gives you that flaky butter crust, so don’t rush this part.💡 Short on time? 45 minutes in the freezer works in a pinch instead of an hour in the fridge.
-
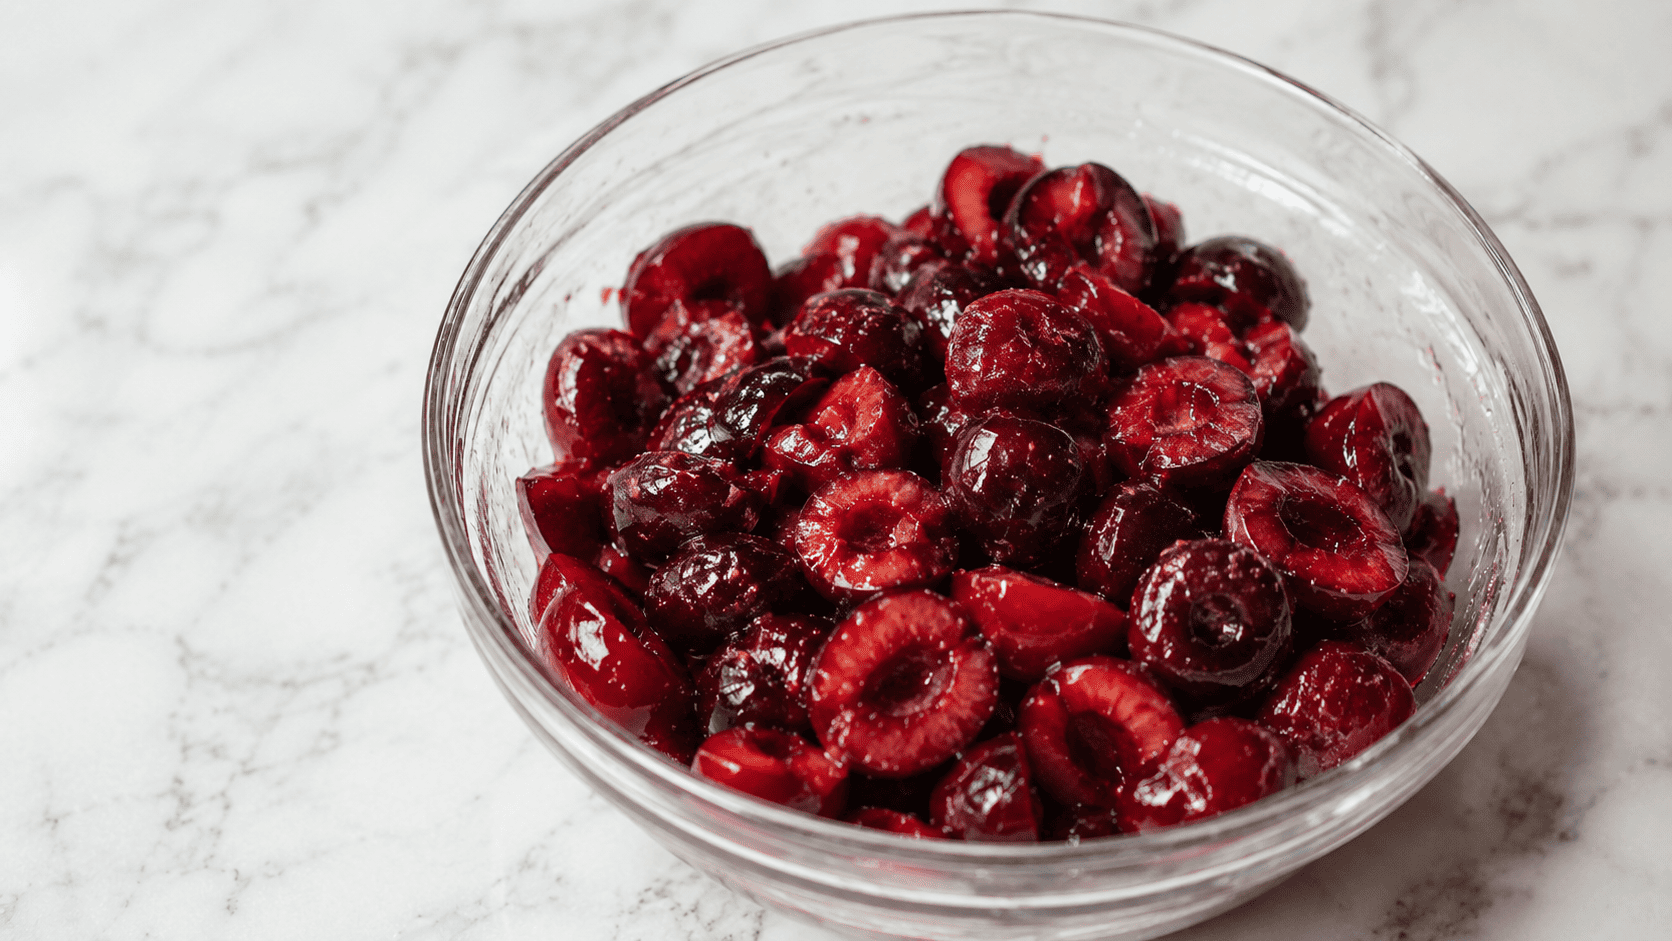
3Make the cherry filling. In a bowl, toss the pitted cherries with sugar, cornstarch, lemon juice, vanilla, and a pinch of salt. Let it sit for about 10 minutes so the cherries release some juice and the cornstarch can dissolve evenly.
-
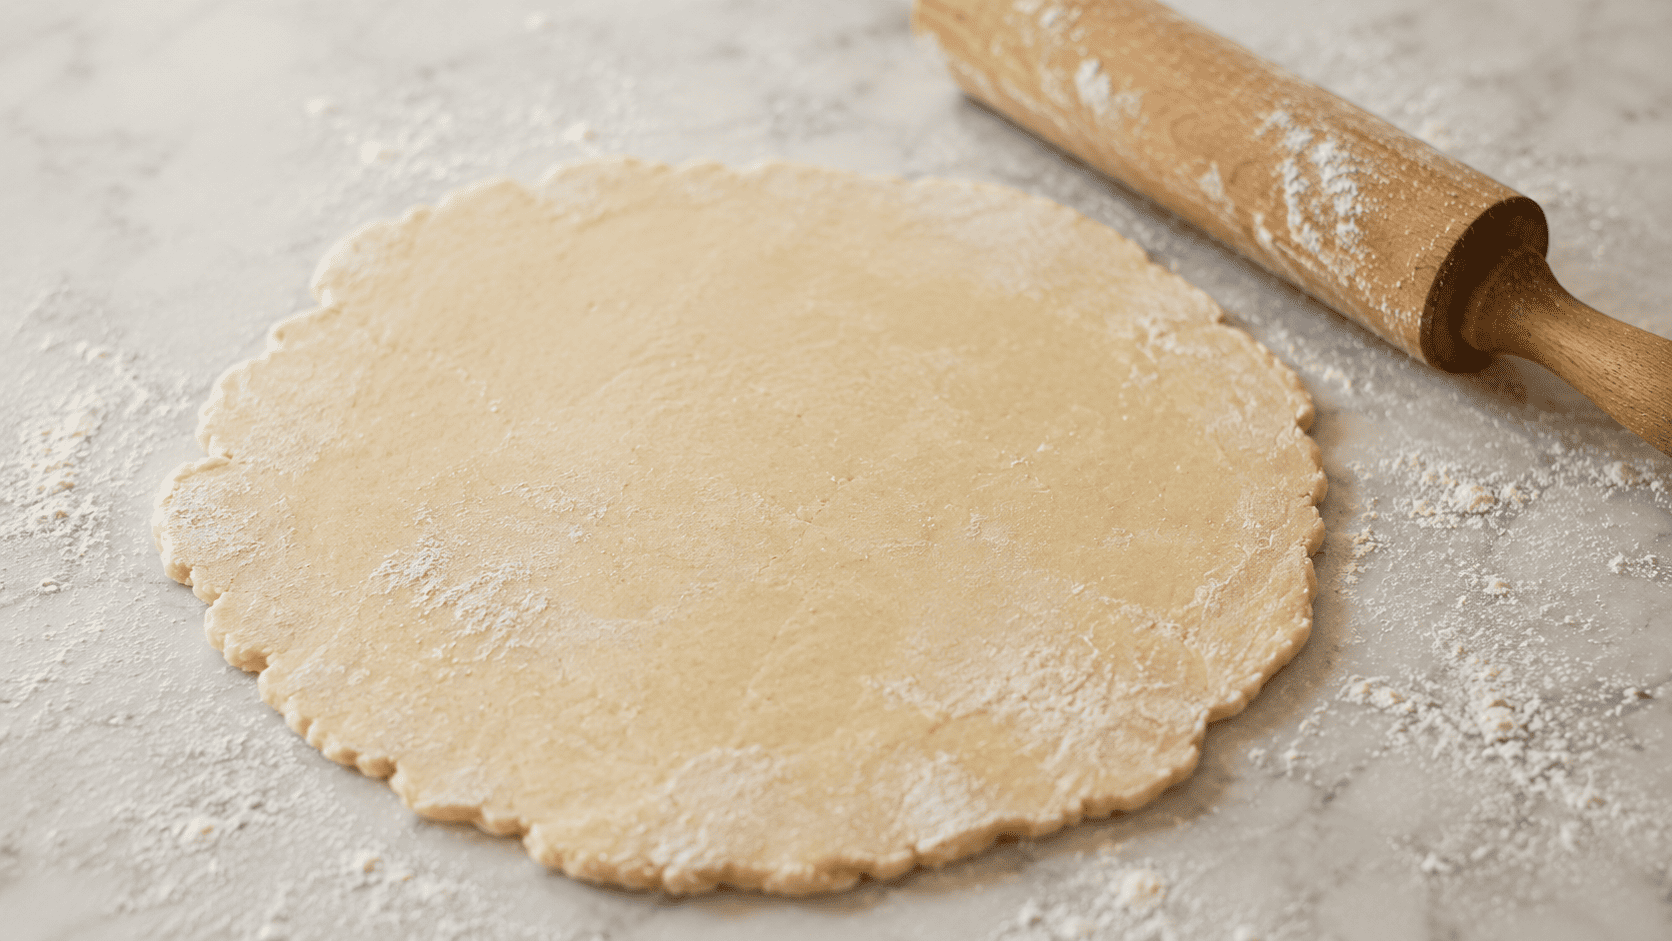
4Roll out the dough. On a lightly floured surface, roll the chilled dough into a rough 12-inch circle, about ⅛-inch thick. Don’t worry about making it perfect — rustic is the whole look here. Transfer it to a parchment-lined baking sheet.
-
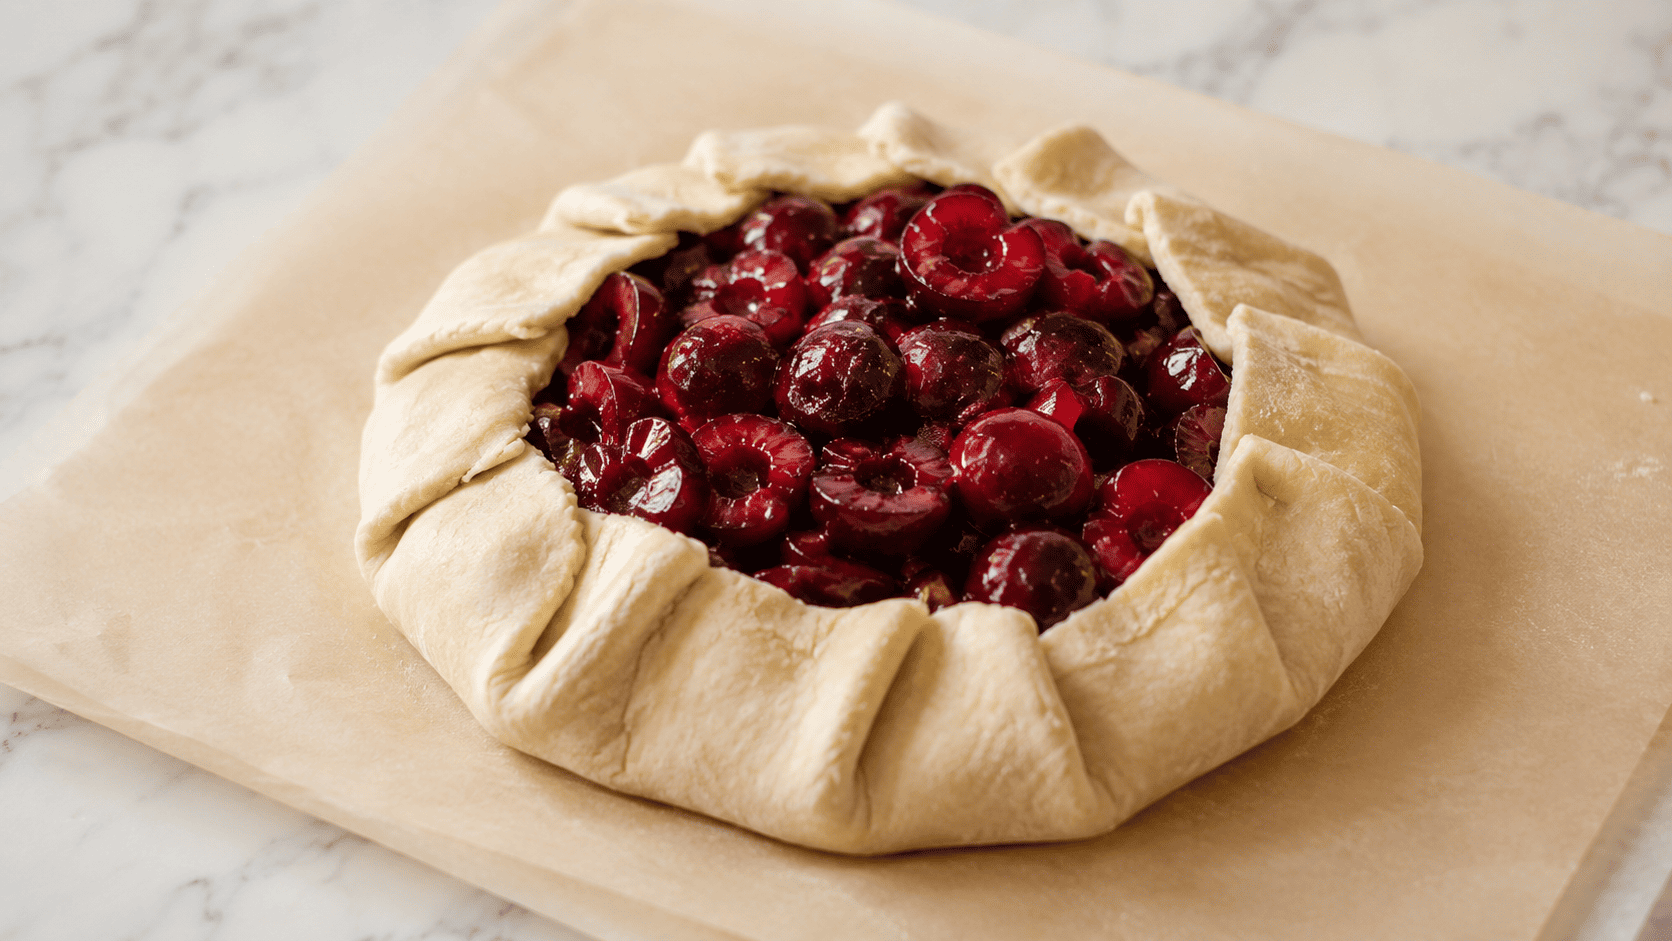
5Fill and fold. Pile the cherry filling into the center of the dough, leaving a 2-inch border all the way around. Fold the edges up and over the filling, overlapping the dough every few inches to create the classic pleated galette shape. The center stays open.⚠️ Leave the extra cherry juice behind in the bowl — too much liquid on the dough makes for a soggy bottom crust.
-
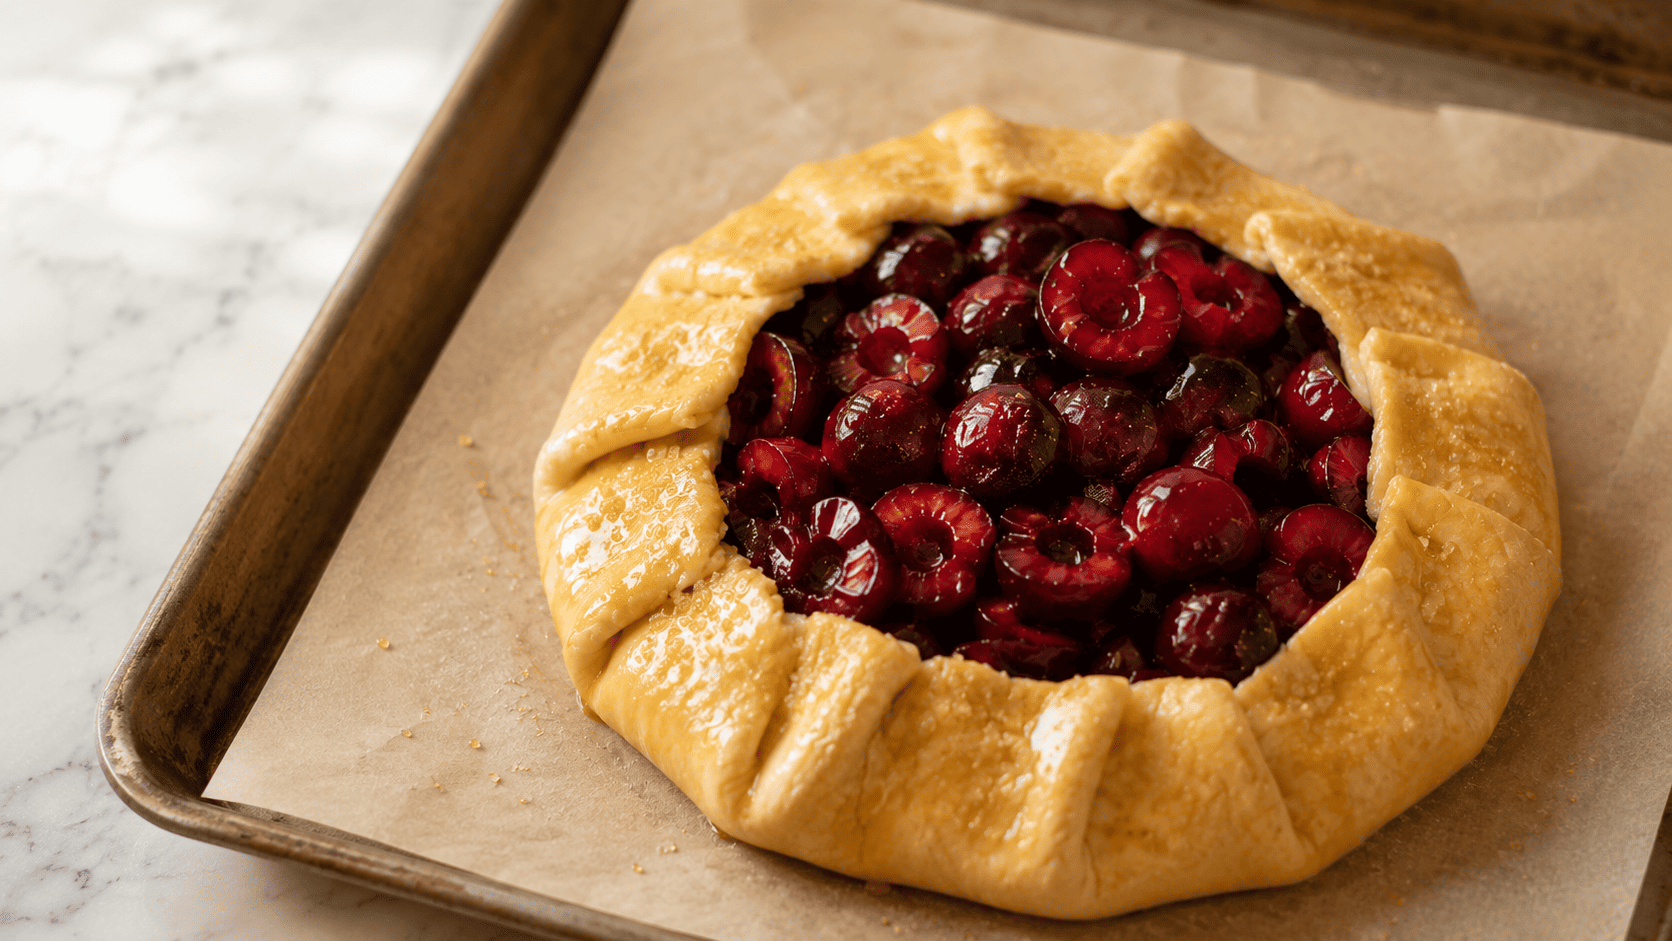
6Chill again, then bake. Pop the assembled galette in the fridge or freezer for 15 minutes to firm the butter back up. Brush the folded crust with the beaten egg and sprinkle with coarse sugar. Bake at 400°F (200°C) for 35–40 minutes, until the crust is deep golden brown and the filling is bubbling. Let it cool for at least 20 minutes before slicing.
Why Is Everyone Talking About Matcha? The Science Behind the Green Obsession

🧄 Ingredients
📋 Instructions
Nutrition Per Serving
💡 Pro Tips
- Keep everything cold. Cold butter and cold dough are what create those flaky, buttery layers — if the dough ever feels greasy or soft, chill it again before continuing.
- Don’t skip the cornstarch. It thickens the cherry juices as they bake so you get a jammy filling instead of a puddle.
- A pastry brush isn’t required. A spoon or even your fingers work fine for the egg wash — it just needs a thin, even coat.
- Bake on the lower oven rack for the last 10 minutes if the bottom crust seems pale. This helps it crisp up and brown properly.
- Let it cool before slicing. I know it’s tempting, but the filling needs those 20 minutes to set, or it’ll run everywhere.
Variations to Try
Add ¼ teaspoon each of cinnamon and cardamom to the cherry filling for a warm, fragrant twist. Lovely in early fall when cherries are still around.
Cut the sugar in the filling to ¼ cup and swap half the butter in the crust for cold coconut oil. Still flaky, just a little lighter.
Use a store-bought pie crust and frozen pitted cherries (thawed and drained well). You’ll have this in the oven in under 20 minutes of prep.
Swap half the cherries for blueberries or blackberries. It keeps the same jammy texture with a slightly different sweet-tart balance.
Serving Ideas
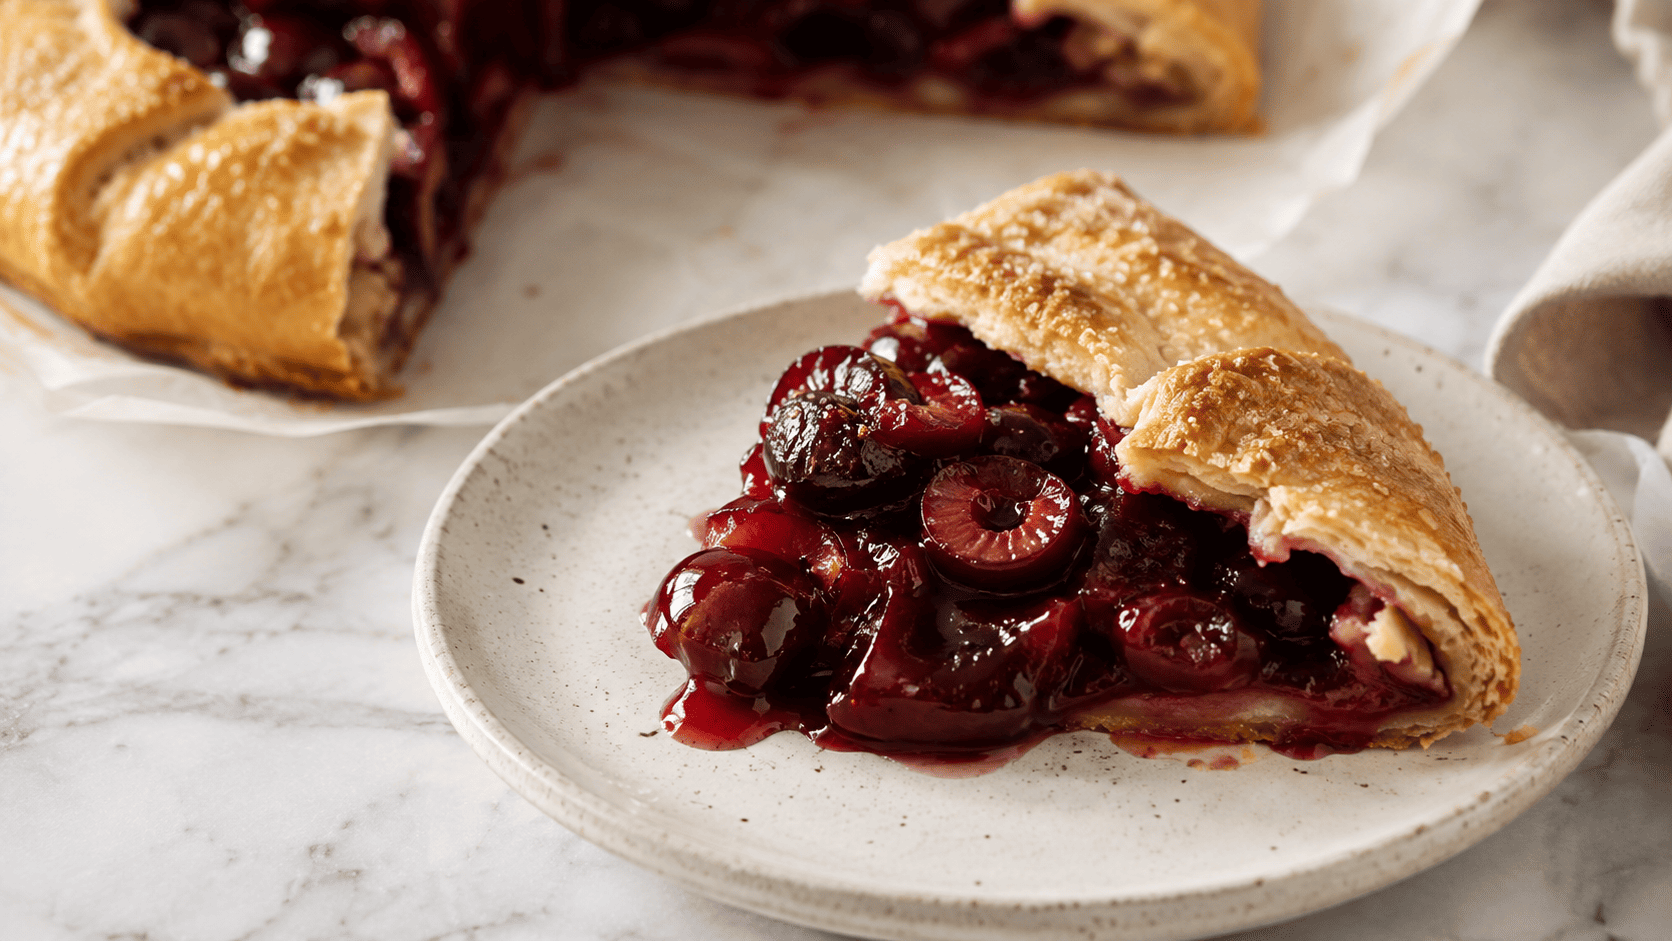
- Warm, with a scoop of vanilla ice cream melting into the crust — my personal favorite
- A dollop of lightly sweetened whipped cream and a few fresh mint leaves on top
- With a drizzle of honey or a dusting of powdered sugar for a simple finish
- Alongside coffee or espresso for a relaxed weekend brunch dessert
- Sliced into wedges on a wooden board for a casual, Pinterest-worthy dessert spread
Storage & Reheating
| Where | How long | Notes |
|---|---|---|
| 🌡️ Room temp | Up to 1 day | Loosely covered — the crust stays crispest at room temperature |
| ❄️ Fridge | Up to 4 days | Cover loosely with foil or a lid once fully cooled |
| 🧊 Freezer (baked) | Up to 2 months | Wrap tightly once cooled; thaw overnight in the fridge before reheating |
| 🔥 Reheat | 10 min | Oven at 350°F until warmed through — this brings the crust back to crispy. Microwave works but softens it. |
Frequently Asked Questions
If you’ve never made a fruit galette before, this rustic cherry galette is the one to start with. It’s genuinely more forgiving than a pie, and the imperfect, hand-folded edges are what make it feel like something you baked yourself, not something from a bakery case.
Make it while cherries are still in season, bring it to a summer dinner, or just make it because you’ve got a craving for something warm and buttery. If you try this cherry galette recipe, I’d love to hear how it turned out in the comments! 🤍

Get new recipes in your inbox 🍋
No spam — just the good stuff, straight to you.
Classic Rustic Cherry Galette — The Easy Cherry Galette Recipe With a Flaky Butter Crust
🧄 Ingredients
- 1.25 cup All-purpose flour
- 1 ¾ tbsp Granulated sugar
- 0.5 tsp Salt
- 0.5 cup Unsalted butter
- 4 ¾ tbsp Ice water
- 1 ¾ tsp Apple cider vinegar
- 3 ¾ cup Fresh cherries
- 0.33 cup Granulated sugar
- 2 ¾ tbsp Cornstarch
- 1 ¾ tbsp Fresh lemon juice
- 0.5 tsp Vanilla extract
- 0.1 tsp Salt
- 1 ¾ Large egg
- 1 ¾ tbsp Coarse or turbinado sugar
📋 Instructions
-
1
Whisk flour, sugar, and salt together, then work in the cold cubed butter until pea-sized chunks form. Stir vinegar into the ice water and drizzle in, mixing just until the dough comes together.
💡 Don\'t overmix or the crust won\'t be flaky. -
2
Shape the dough into a disc, wrap in plastic, and refrigerate.
💡 Cold dough is key for a flaky crust. -
3
Toss the pitted cherries with sugar, cornstarch, lemon juice, vanilla, and a pinch of salt, and let sit to release juices.
💡 Let it rest so the cornstarch dissolves evenly. -
4
Roll the chilled dough into a rough 12-inch circle on a floured surface and transfer to a parchment-lined baking sheet.
💡 Rustic and uneven is exactly right. -
5
Pile the cherry filling in the center, leaving a 2-inch border, then fold the edges up and over, pleating as you go.
💡 Leave excess juice behind in the bowl to avoid a soggy crust. -
6
Chill the assembled galette, brush with egg wash, sprinkle with coarse sugar, and bake at 400°F until deep golden and bubbling.
💡 Let it cool 20 minutes before slicing so the filling sets.
Nutrition Per Serving