Aesthetic Iced Coffee at Home (Better Than Starbucks, Honestly)
A tall glass, ice all the way up, rich cold coffee poured slow over creamy milk, and that gorgeous gradient layering before you stir. Salted caramel cold foam on top. Ready in under 5 minutes — and it looks as good as it tastes.
You know that feeling when you make your own iced coffee and it actually looks as good as it tastes? That’s what this is. A tall glass, ice all the way up, rich cold coffee poured slow over creamy milk, and that gorgeous gradient layering before you stir it all together.
I started making homemade iced coffee because, honestly, the coffee shop habit was getting a little out of hand. A couple of drinks a week turned into a daily thing and I thought — I can do this at home. And I can make it prettier.
This iced coffee recipe is the base I come back to every single morning. It’s smooth, not bitter, and the cold foam on top? That’s the move. Once you try salted caramel cold foam at home, you’re going to stop ordering it elsewhere.
Why You’ll Love This Recipe
- Gorgeous and aesthetic — that layered look is genuinely easy to achieve at home
- Saves so much money — your daily $7 iced latte costs pennies to make here
- Ready in under 5 minutes — faster than any drive-through
- Completely customizable — sweet, strong, creamy, flavored — you’re in charge
- No special equipment needed — just a glass, ice, and a frother for the foam
- Works with any coffee — cold brew, espresso, strong brewed coffee — all good
Step-by-Step Instructions
-
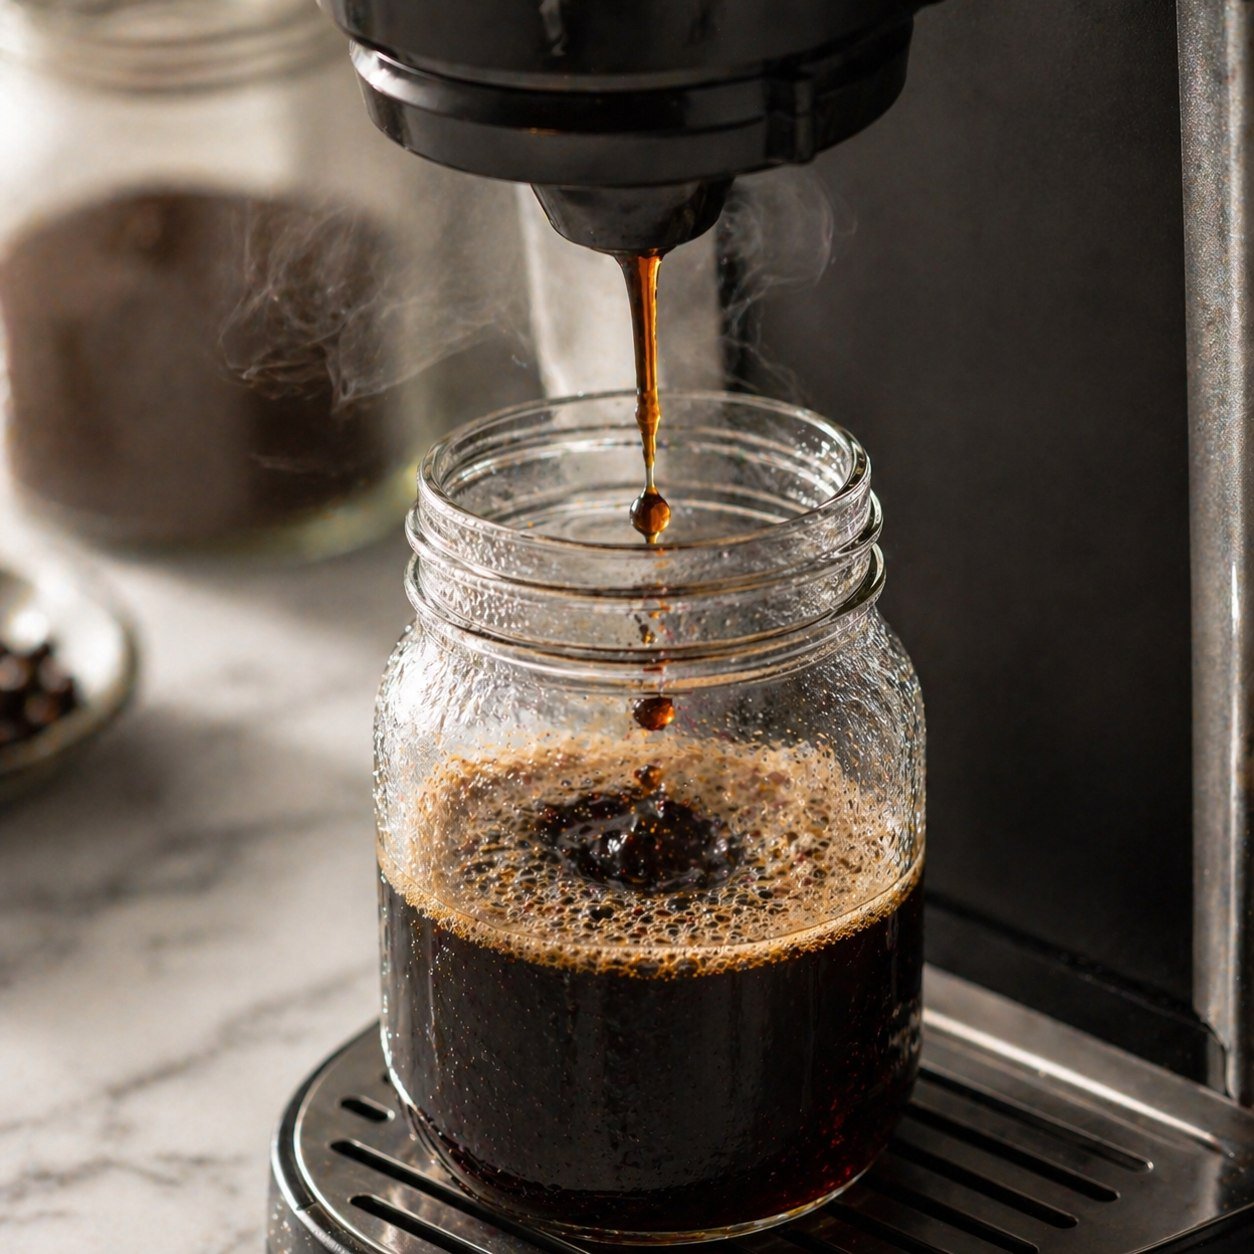
1Brew your coffee. Brew double-strength coffee (2 tablespoons of grounds per cup of water). Let it cool completely — refrigerate for at least 30 minutes, or make it the night before for the best result.
-
2Prepare your glass. Fill a tall glass completely with ice. Don’t be shy with the ice — it keeps everything cold and creates that beautiful visual.

-
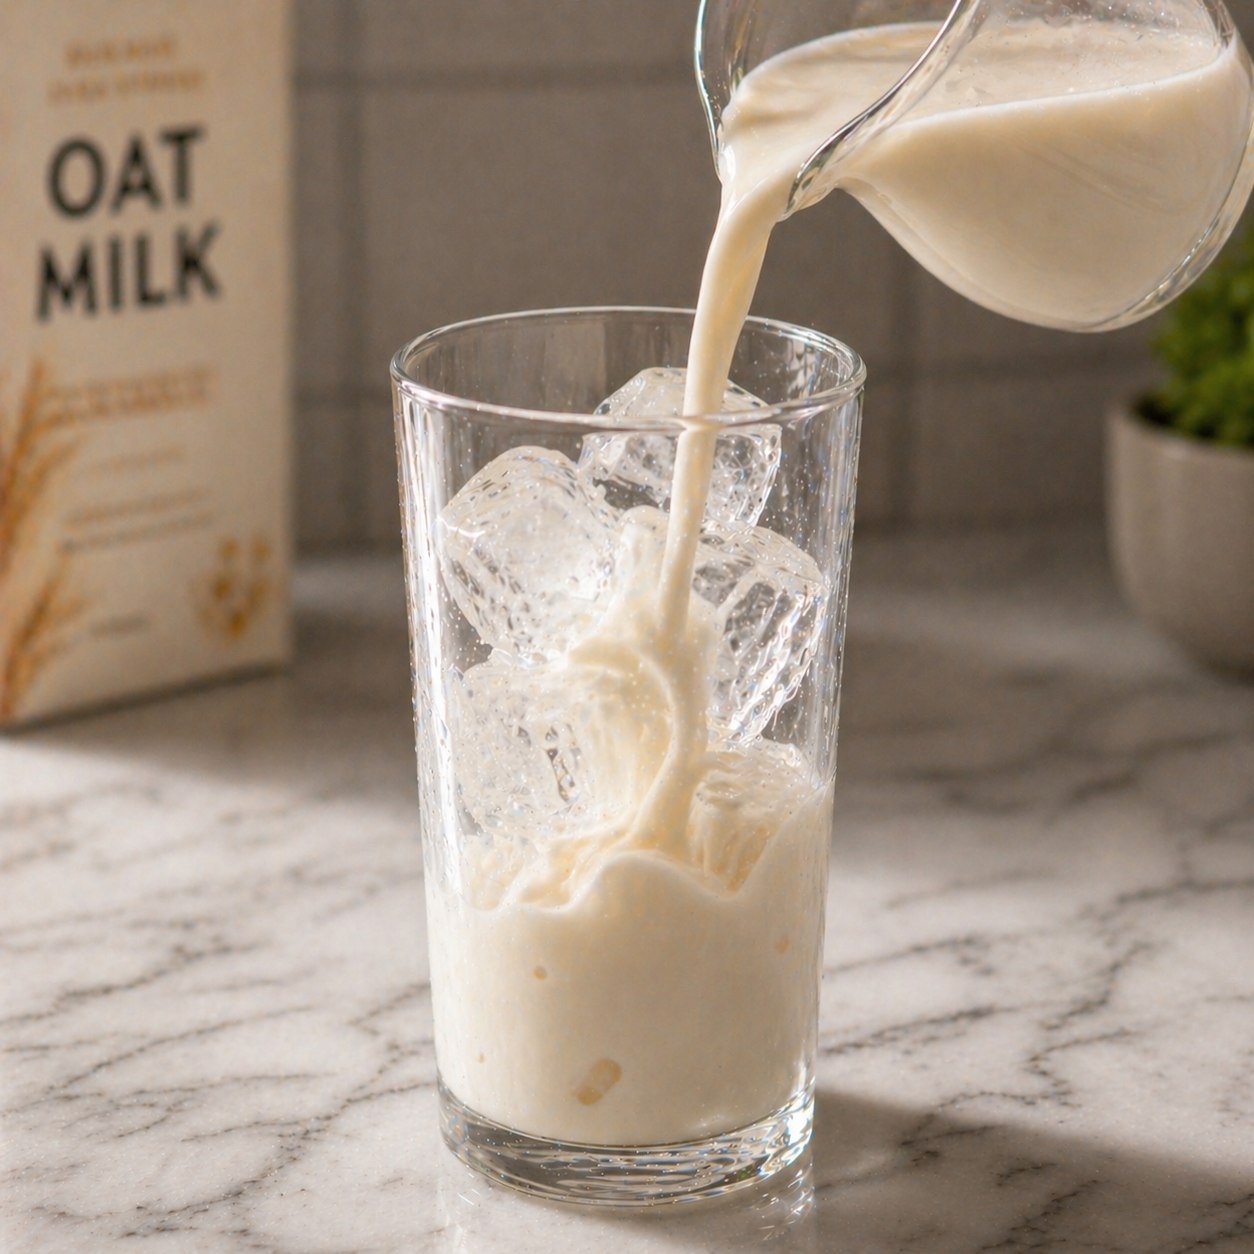
3Add the milk first. Pour your milk of choice over the ice. This is what creates the gradient effect — coffee goes on top and layers down slowly.
-
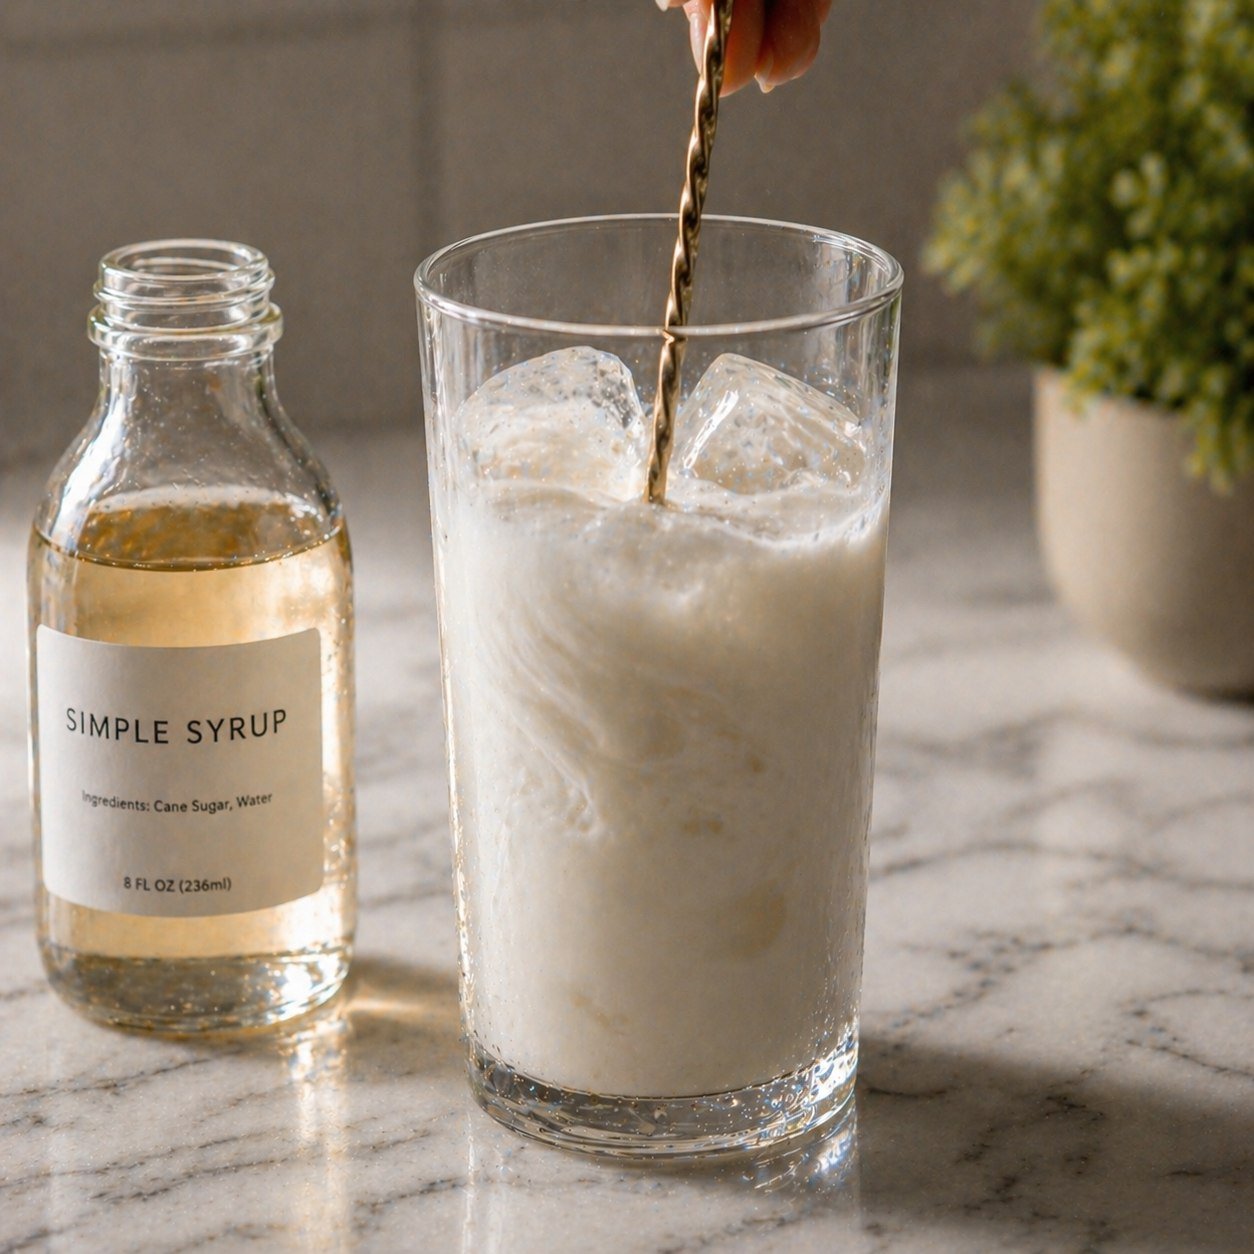
4Add your sweetener. Stir in simple syrup or sweetener of choice directly into the milk and ice.💡 Sweetener mixes much more easily into room temperature milk than into cold coffee — always add it before pouring the coffee over.
-
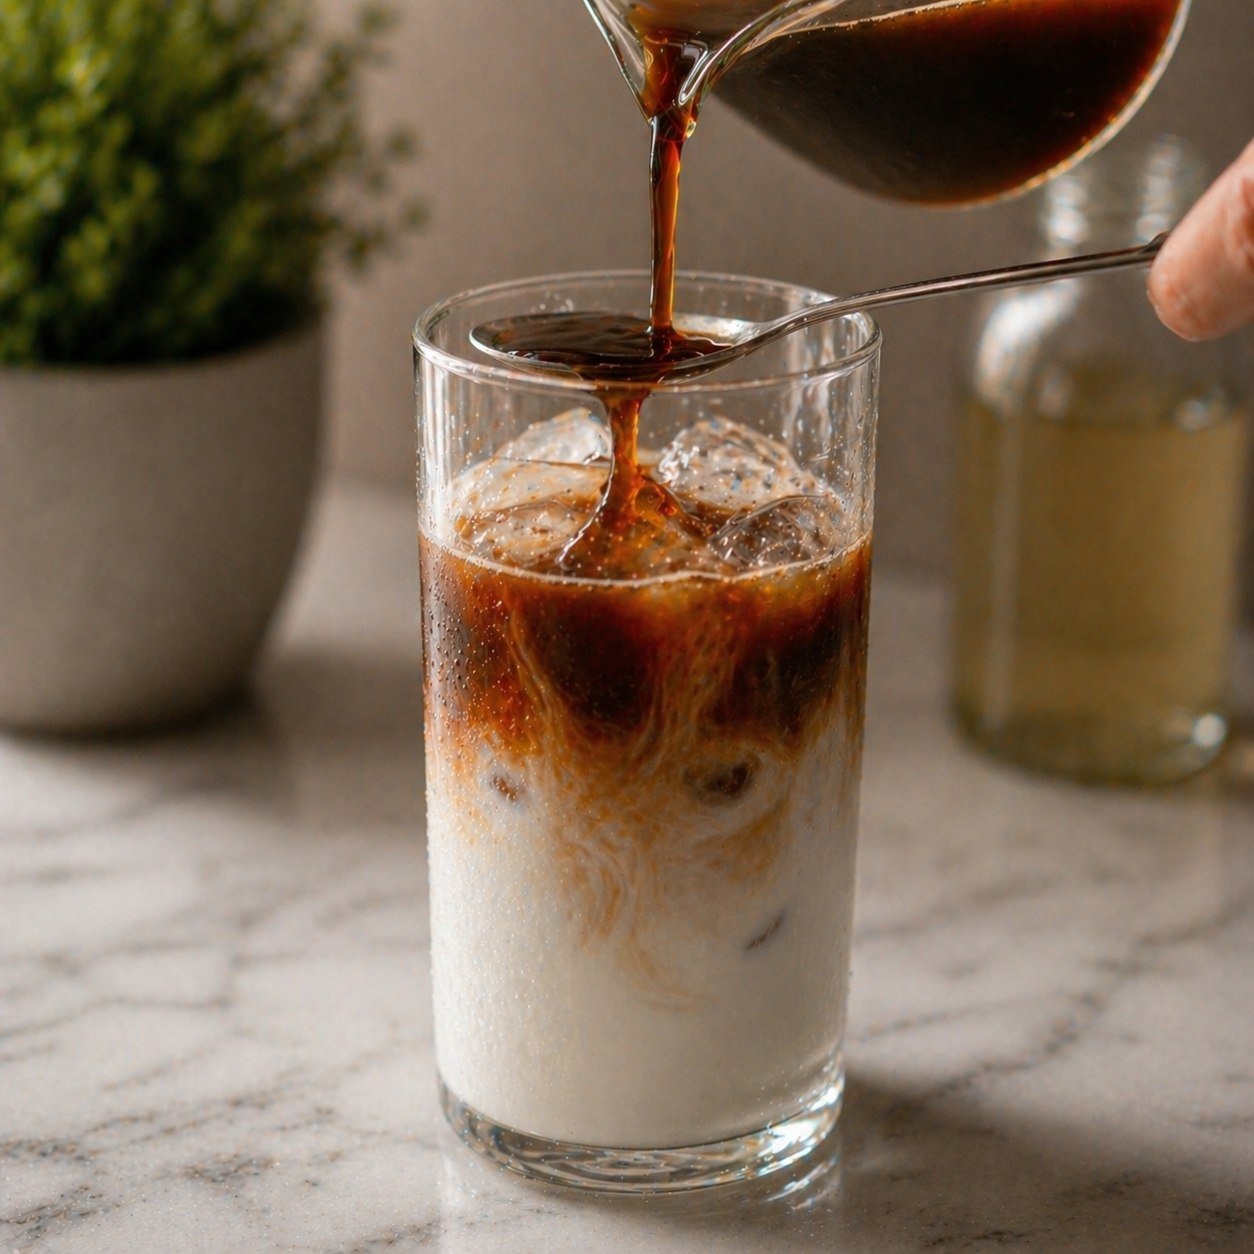
5Pour the coffee slowly. Slowly pour your chilled coffee or cold brew over the back of a spoon held just above the milk. This keeps the layers distinct and gives you that gorgeous aesthetic iced coffee look.✨ This takes 5 extra seconds and looks so good — the spoon trick is the secret to that Pinterest-worthy gradient.
-
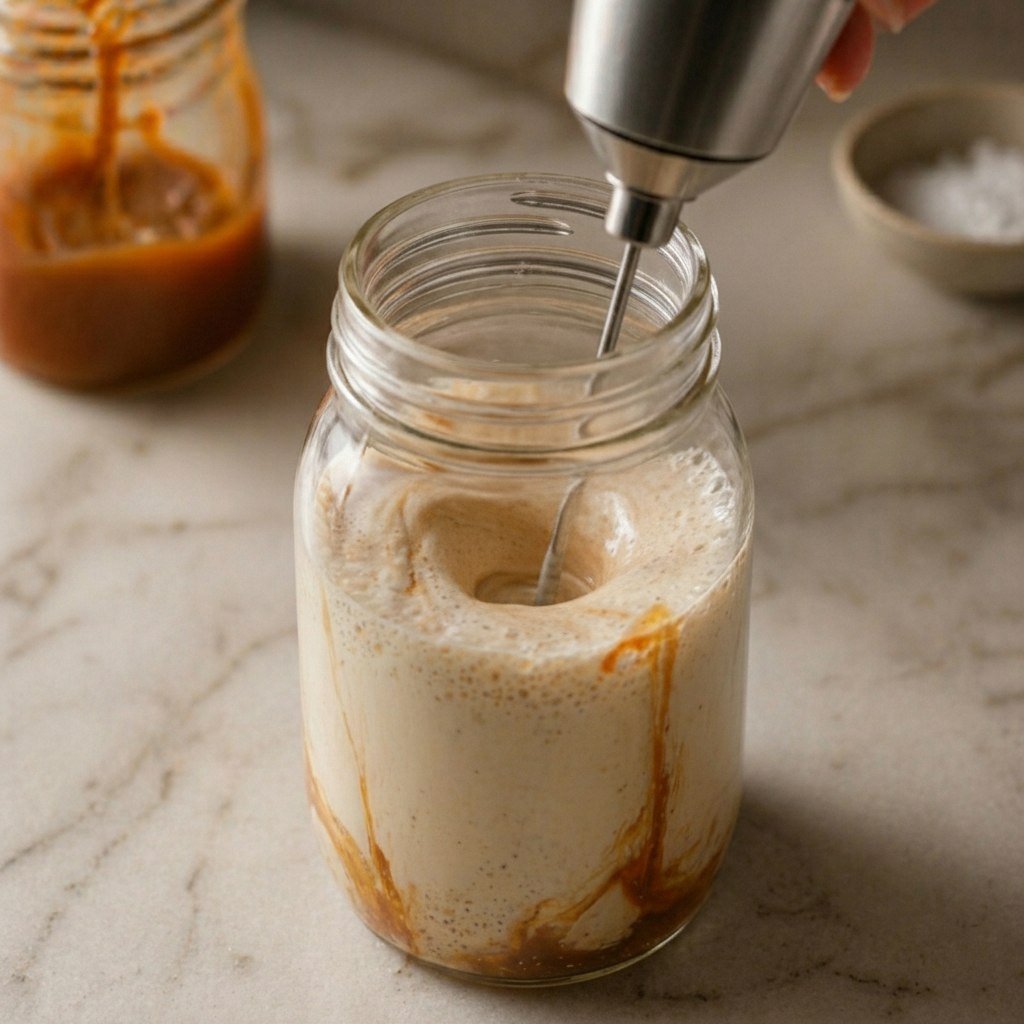
6Make the cold foam. In a small jar or cup, combine the heavy cream, caramel sauce, salt, and vanilla. Use a handheld milk frother and froth for 20–30 seconds until thick and foamy — not stiff, just gently airy.💛 You want it thick and fluffy but still pourable — about 20 seconds with a frother usually does it perfectly.
-
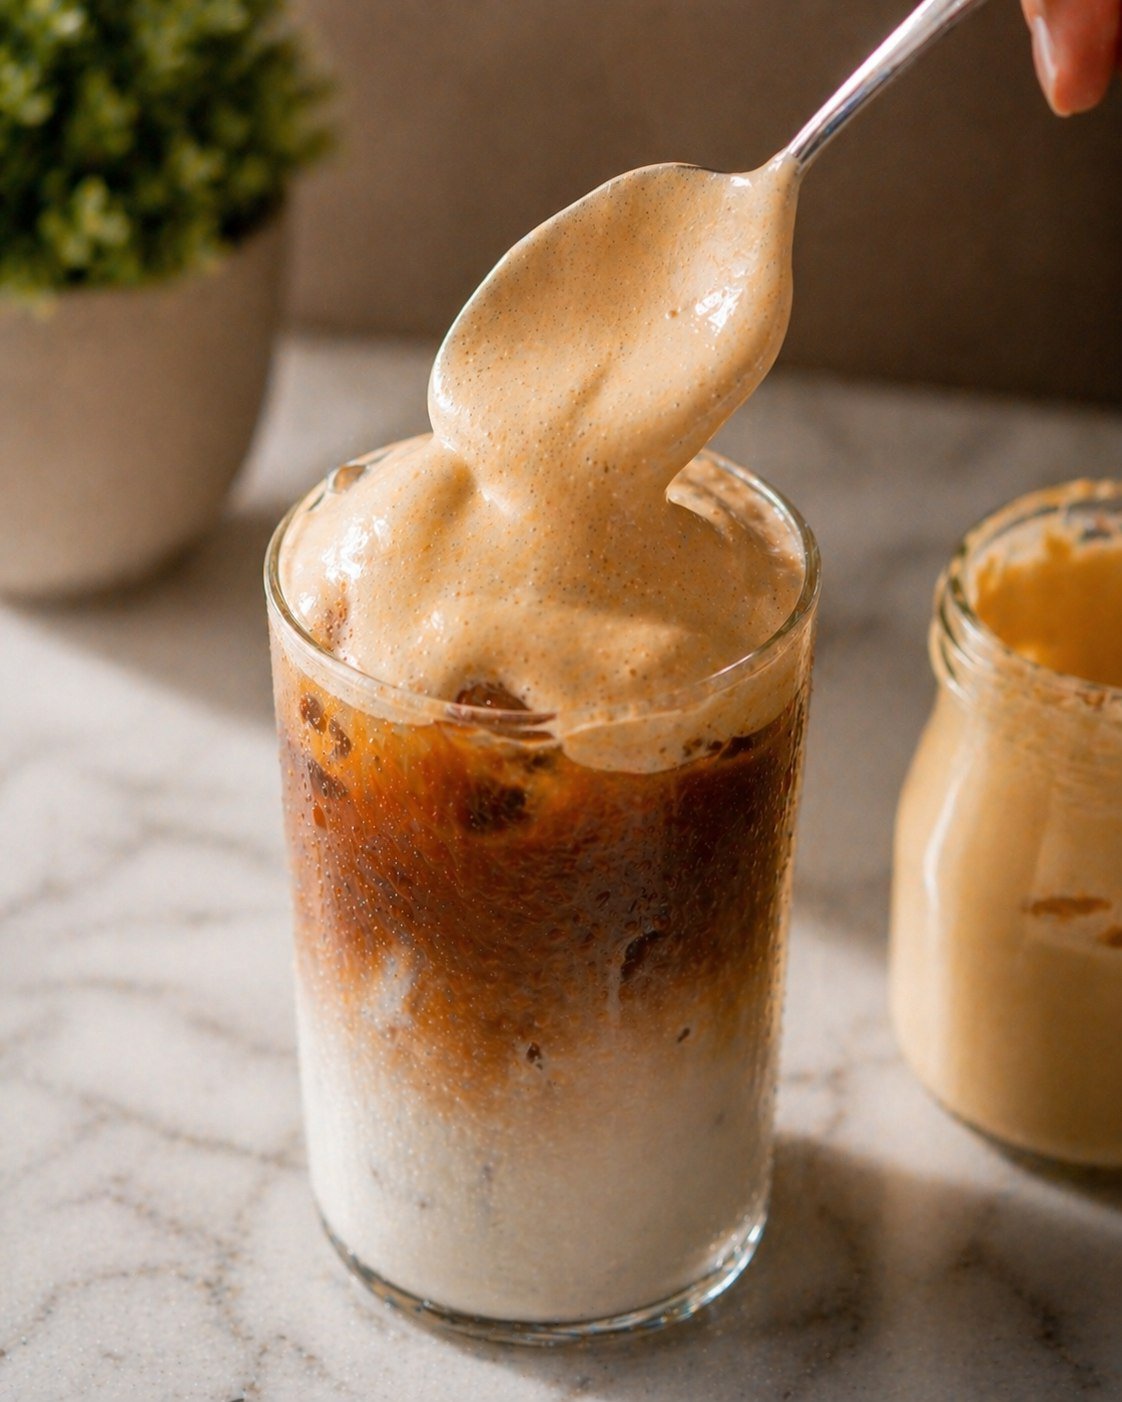
7Spoon the cold foam on top. Spoon or pour the salted caramel cold foam gently over the coffee. Let it sit on top — it’ll slowly melt in as you drink.
-
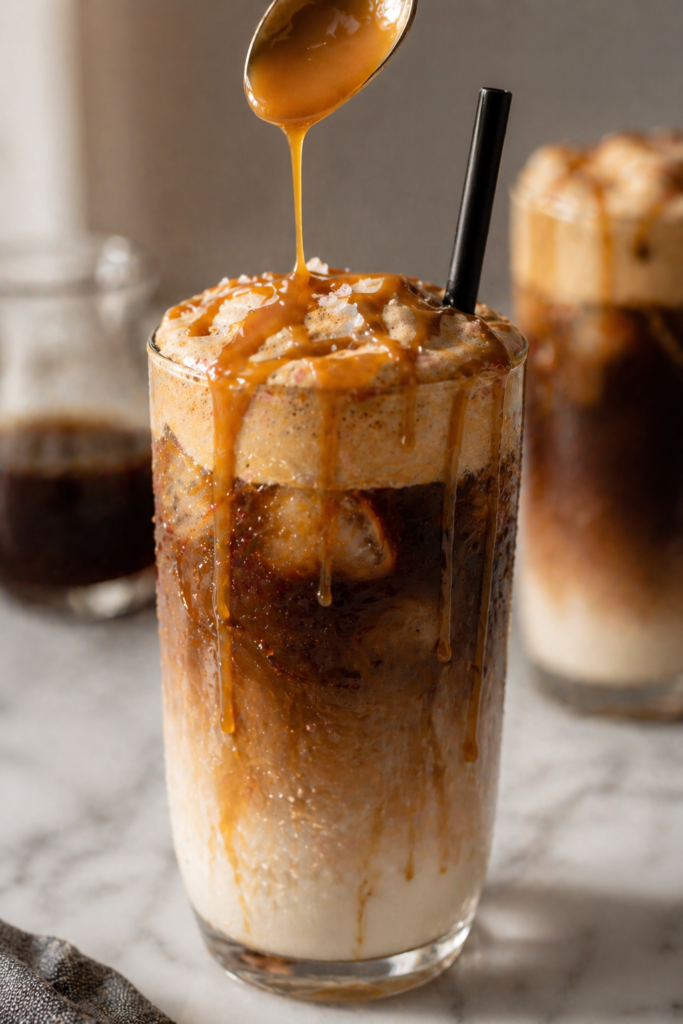
8Finish and serve. Add an extra drizzle of caramel, add a straw, and enjoy immediately. This one’s best drunk fresh while the foam is still fluffy and the layers are still gorgeous.

Aesthetic Iced Coffee at Home (Better Than Starbucks, Honestly)
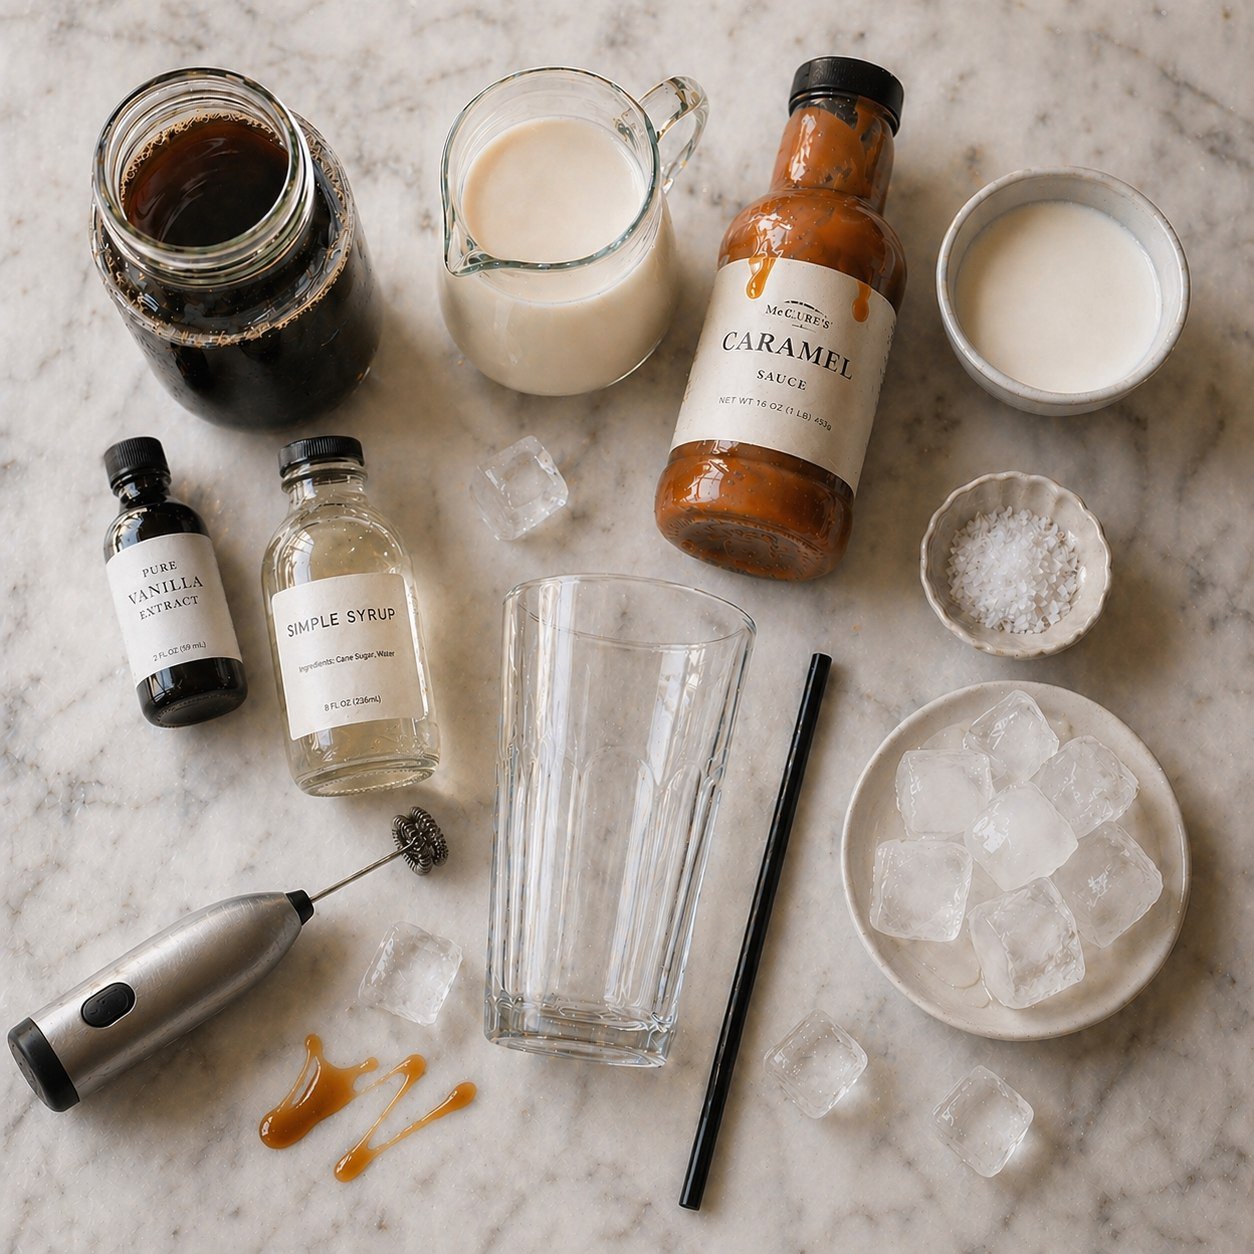
🧄 Ingredients
- 1 ¾ cup strong brewed coffee or cold brew, chilled
- 1 ¾ cup milk of choice
- 1 ¾ cup ice cubes
- 2 ¾ tbsp simple syrup or sweetener
- 3 ¾ tbsp heavy cream
- 1 ¾ tbsp caramel sauce
- 1 ¾ tsp flaky salt
- 1 ¾ tsp vanilla extract
📋 Instructions
-
1
Brew strong coffee using double the usual grounds, or use cold brew concentrate. Chill completely in the fridge — at least 30 minutes or overnight.
💡 Make a big batch the night before and keep it ready in the fridge for fast mornings. -
2
Fill a tall glass completely with ice cubes.
💡 Use coffee ice cubes instead of regular ice so your drink never gets watered down. -
3
Pour the milk over the ice, then stir in your sweetener or simple syrup directly into the milk.
💡 Sweetener mixes much easier into milk than into cold coffee — always add it here. -
4
Hold a spoon just above the surface of the milk and slowly pour the chilled coffee over the back of the spoon so it layers gently on top.
💡 This slow pour over a spoon creates the beautiful gradient aesthetic iced coffee look. -
5
In a small cup or jar, combine the heavy cream, caramel sauce, salt, and vanilla extract. Froth with a handheld milk frother for 20 to 30 seconds until thick and gently airy.
💡 You want the foam thick but still pourable — not stiff like whipped cream. -
6
Spoon the salted caramel cold foam gently on top of the coffee. Add an extra drizzle of caramel if desired.
-
7
Add a straw and serve immediately.
💡 Drink right away — the layers look best fresh and the foam texture fades quickly.
Nutrition Per Serving
💡 Pro Tips
- Chill your coffee overnight — brew a big batch the night before and keep it in the fridge. Morning you will be very grateful.
- Use coffee ice cubes — freeze leftover coffee in an ice cube tray so your drink never gets watered down as they melt.
- Froth at the right texture — for cold foam, you want thick and fluffy but still pourable. About 20 seconds with a frother usually does it.
- Pour over a spoon for the gradient — slow pour over the back of a spoon takes 5 extra seconds and looks incredible.
- Sweetener goes in the milk, not the coffee — it mixes much more easily into milk before the cold coffee goes over.
- Oat milk froths better than almond milk — if you’re dairy-free and want thick cold foam, oat milk is your best bet.
Variations to Try
Add 1–2 tsp of lavender simple syrup to your milk before pouring the coffee. Floral, lightly sweet, and so soft in flavor.
Stir 1 tbsp pistachio paste into your milk. Pour 2 shots of espresso over the top. Creamy, nutty, absolutely stunning.
Mix 1 tbsp ube halaya into your milk until purple. Pour cold brew over slowly and top with plain sweet cold foam. Looks beautiful.
Cold brew concentrate, ice, milk, and a tiny pinch of salt in the coffee to cut bitterness. Clean, simple, deeply satisfying.
Serving Ideas
- Serve in a tall clear glass always — the layers are the whole aesthetic
- Pair with a light breakfast: avocado toast, a muffin, or granola
- Add a pretty reusable straw — it photographs so much better and just feels nicer
- Set near natural light if you’re photographing — the layers genuinely glow
- For brunch, set up a little iced coffee station with different syrups so everyone can build their own
- Pairs beautifully with something sweet — a croissant, biscotti, or chocolate chip cookies
Storage & Make-Ahead
| What | How long | Notes |
|---|---|---|
| ☕ Brewed coffee | Up to 1 week | Sealed jar or pitcher in the fridge |
| 🧊 Coffee ice cubes | Up to 3 months | Freeze in ice cube tray, transfer to bag |
| 🫙 Cold foam | Best made fresh | Pre-mix caramel cream in a jar, froth fresh each morning |
| 🥤 Assembled drink | Immediately | Best fresh — foam and layers fade quickly |
Frequently Asked Questions
There’s something genuinely nice about making your own coffee at home — not because it’s cheaper (though it is), but because you can make it exactly how you like it. A little more sweet, a little more strong, extra foam, a fun flavor. It’s yours.
I hope this becomes your morning ritual. Whether you go classic, lavender, pistachio, or ube — you’re going to love having this in your routine. Make it, photograph it, enjoy it. You deserve a pretty coffee. ☕

Get new recipes in your inbox 🍋
No spam — just the good stuff, straight to you.